
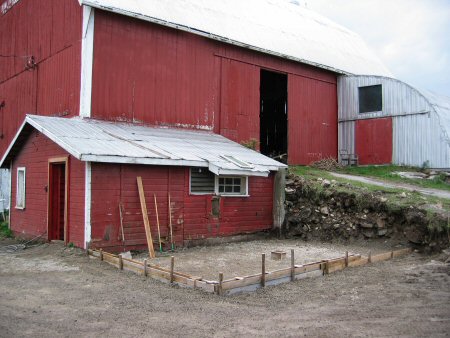
Autumn usually ends up being construction time. This year’s project is by far the biggest yet on the Tiny Farm, as we set out to more than double the area of the old milk collection room known as the Milkhouse. This was the only outbuilding that could be heated during the winter. After the upgrade, it’ll be a year-round multi-use space: office, seedling room in spring, overnight veggie storage in summer, the farm stand in the chilly days of late fall, maybe even the venue for the occasional, um, tea party… At this stage, it’s waiting for the concrete floor to be poured.
Series: Expanding the Milkhouse
Expanding the old milk collection room from the farm’s dairy days, into a fully-insulated seed-starting room, summer workroom, and cozy winter seed-catalog-browsing and next-season-planning hideaway.
Foundation
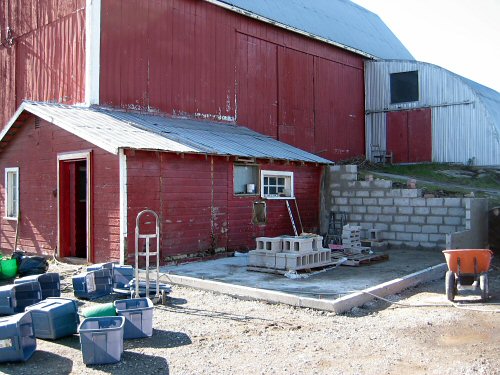
A concrete mixer pulled into the farmyard and poured a 6″ concrete pad on top of the firmed up gravel. Then we built a concrete block retaining wall against the gangway to the barn. The Milkhouse Extension’s ready for framing and well underway!
What a difference a day makes
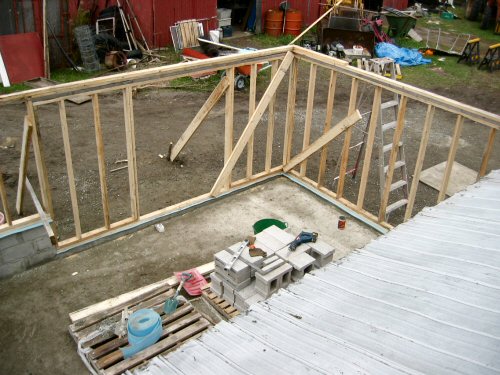
With the foundation in place, wood framing is surprisingly quick. In a few hours, the walls are framed up, and it’s on to the roof… Rough carpentry is interesting, you’re working not from a blueprint or even a real sketch, instead, there’s only an ongoing materials list assembled from plans in your head. Well, not my head. This is all quite new to me. Things go a little awry or something unexpected comes up, and it’s fixed on the way. So long as the basic plan is workable, you can always bang your way through the details.
Framed!
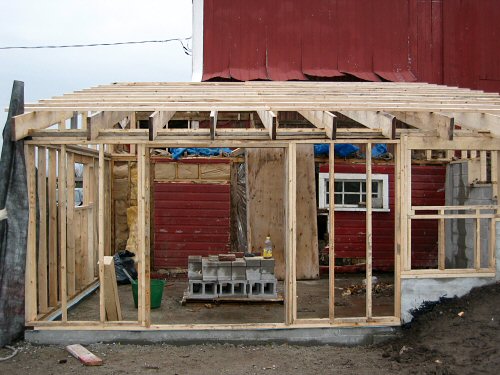
With the rafters in place, the wood framing is done, and it’s on to wrapping the frame with an insulating fabric (Typar, the gray stuff leaning on the left) and closing up the outside walls with tongue-and-groove siding. We’re working to get the space enclosed before any really cold weather and snow hit. As you can see, the inside wall of the previous Milkhouse is still intact—demolition to come.
And now, for some insulation…
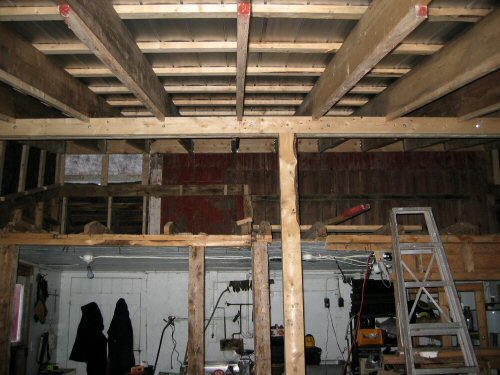
Inside the newly roofed Milkhouse, getting set to insulate. It’s kinda cold and dreary looking now, but it’s sure to get cheerier once the ceiling and walls are covered!
Inside the Milkhouse revealed
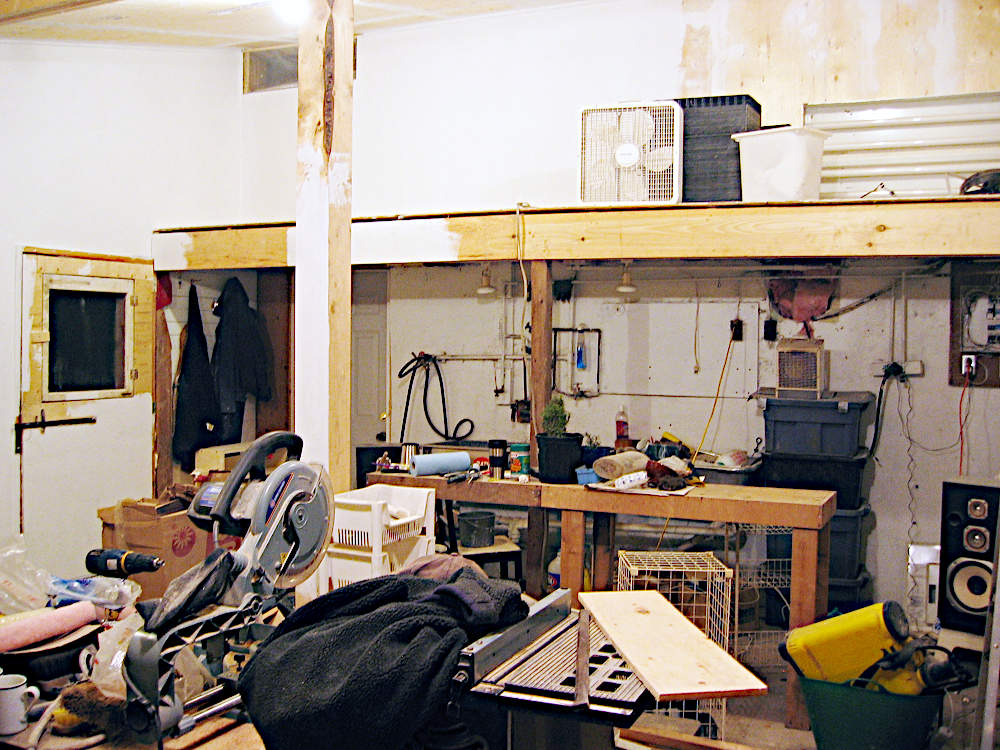
Written and posted 3 Nov 2023: A couple days into the new year, and the structural part of the Milkhouse expansion is done. Time to finish up the inside. The photo shows a bit more than half of the overall depth and most of the width, facing the original Milkhouse area. The walls and ceiling were finished with plywood, with the joins plastered over (you can see in the bit of unpainted wall and ceiling).
It’s amazing how much a photo helps along the old memory. Writing from 16 years later, most things are familiar, some I’m reminded of, and a couple I don’t recall. In that last category, that speaker: I have no idea where that’s from, complete blank. Wow, maybe it’ll come back to me. It must be a pair, I think I see the other one against the back wall, behind the partially painted post on the left. Come to think of it, I don’t remember what the speakers were attached to, either: an stereo system, receiver, something like that? Hmmm…
The Big Shelf
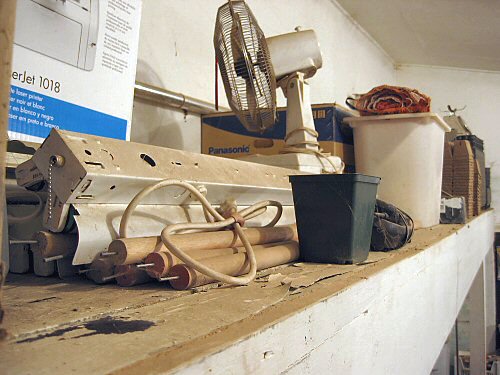
The choice storage spot for tiny farm gear, especially during winter, is this giant shelf, where it’s warm and dry. It’s at the back of the Extended Milkhouse, the last 3-1/2′ of the old ceiling, propped up on the leading edge by a beam across and 4″x4″ posts. It would maybe qualify as an upper level, if you could actually stand up: clearance is only 3-4′ under the new sloped ceiling. It’s 3-1/2’x20′ (1mx6m) of up out of the way space…a big shelf! About 7-1/2′ feet high, I get up there by ladder. Only one season old, it’s still startlingly clear, orderly, and almost entirely filled with immediately useful stuff as opposed to sure-to-be-useful-sometime gear (though the inevitable packing boxes saved just in case of return already have a presence). It’s dusty up there. At this end are the many fluorescent light fixtures (12, I think) for the grow racks. They hang from chains from those dowels in front, and the dowels in turn hang by the nails from more chains on the rack! When seedlings are all done, I remove the lights and use the racks for harvest storage. The oscillating table fan is used to give newly emerged seedlings a bit of a toughening up, conditioning breeze. Down at the other end, stacks of 3″ peat pots and plug sheets and trays. Time to start seedling room set-up!