
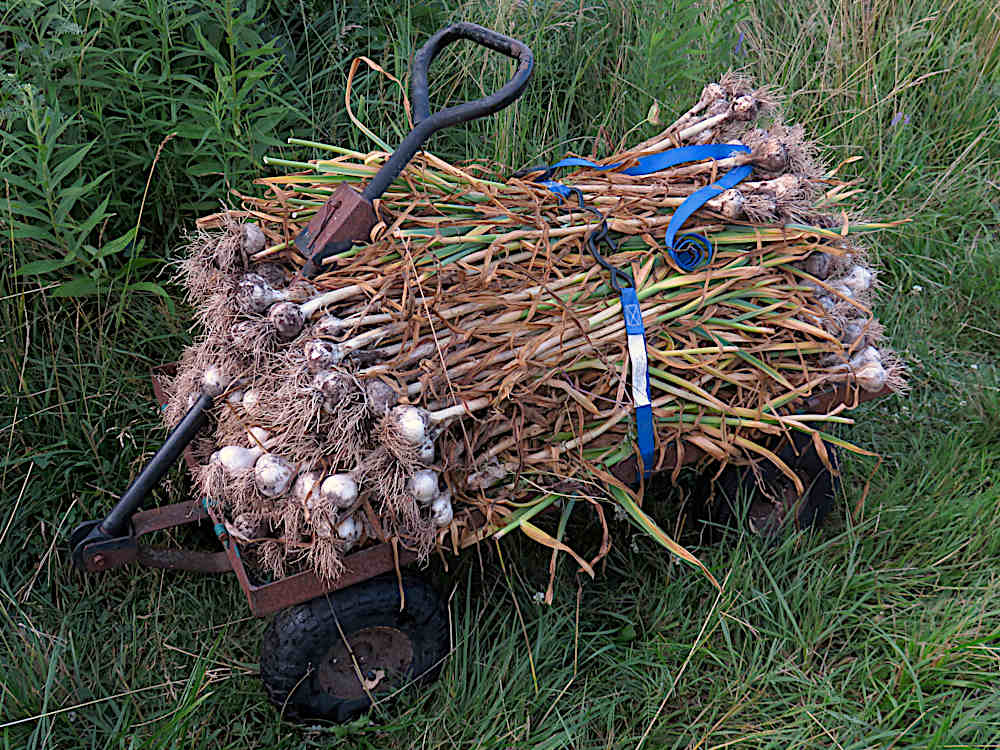
Who needs sides when you have ratchet tie-downs?! A load of harvested garlic, stacked on a trusty hand wagon that has been trundling around all sorts of things for many, many years. They’re off to be stacked on a wire table in the barn to dry out!
Fieldwork
As the leaves die back
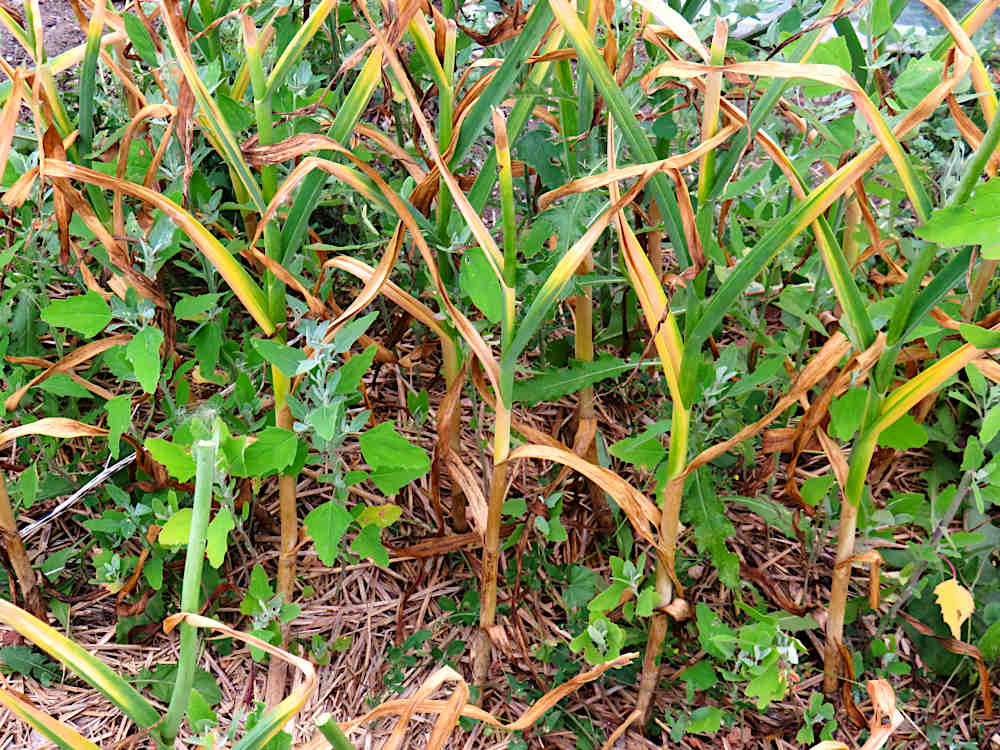
The rule of thumb for garlic harvest, as far as I’ve gathered, is they’re ready to come out when the bottom third of the leaves, or 2-3 leaves, start dying back. I’ve always sort of followed that, but mainly checked by harvesting two or three from different spots every couple of days, starting when the first leaves begin to yellow, how often depending on the weather. This year, because they’d been under row cover the whole time—the anti-leek moth strategy—getting 15% less sun according to the cover specs, I decided to wait longer. They were uncovered into full sun about 10 days ago, and I decided to let them do all the clove growing they could do.
There may be a more scientific, measured way of timing the harvest on big commercial garlic farms. Sensors could be involved! On this smaller scale, an educated guess and harvesting samples has been my approach. If the last month was very wet, an earlier harvest is a good idea. One extraordinarily wet June, rainy and always overcast, left the garlic sitting in pretty damp soil all the time. Even harvested early, at least half had swollen and split the skins at the bottom, making them not great for through-the-winter storage.
Garlic apparently does most of its clove growth as the leaves start to die off—a change of focus. This continues till about half the leaves have started dying back, which makes sense of the rule of thumb. Once the yellowing starts, it goes pretty fast. The idea of not letting them yellow too far is that every leaf blade is a layer of the papery skin that holds the bulb together. The leaves extend right down around the cloves, and once they’re dead on top, they could rot underground. But, if it’s not real damp down there, the buried leaf just starts to dry out. So if it looks alarmingly dead up top, it shouldn’t be a problem, more like the bulbs have started curing—drying out—in the ground. I’ve been checking.Doesn’t sound very precise, in this precisely measured digital world. And these field guesses can be wrong. Overall, though, going by simple experience, topped up by reading and chatting, continues to work out just fine!
White and green onions, weeded
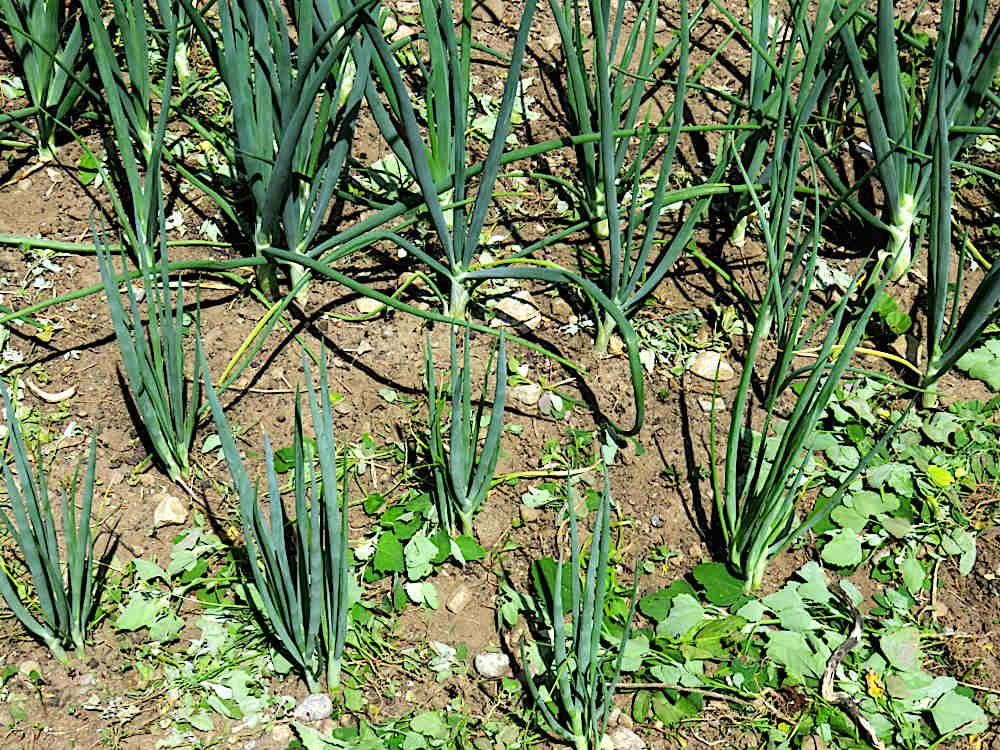
Freshly weeded white (top rows) and green onions. Lots of uprooted lamb’s quarters lying around, enough for a big salad (they are quite tasty, nutritious, too, as you can count on me to say). I haven’t really looked at the white onions to see how they’re starting to size up. It’s the first time growing them, and I’m curious about how they turn out, and how they’ll taste! They all seem to be doing great, with a little weeding to help them along.
Melon tendrils twine
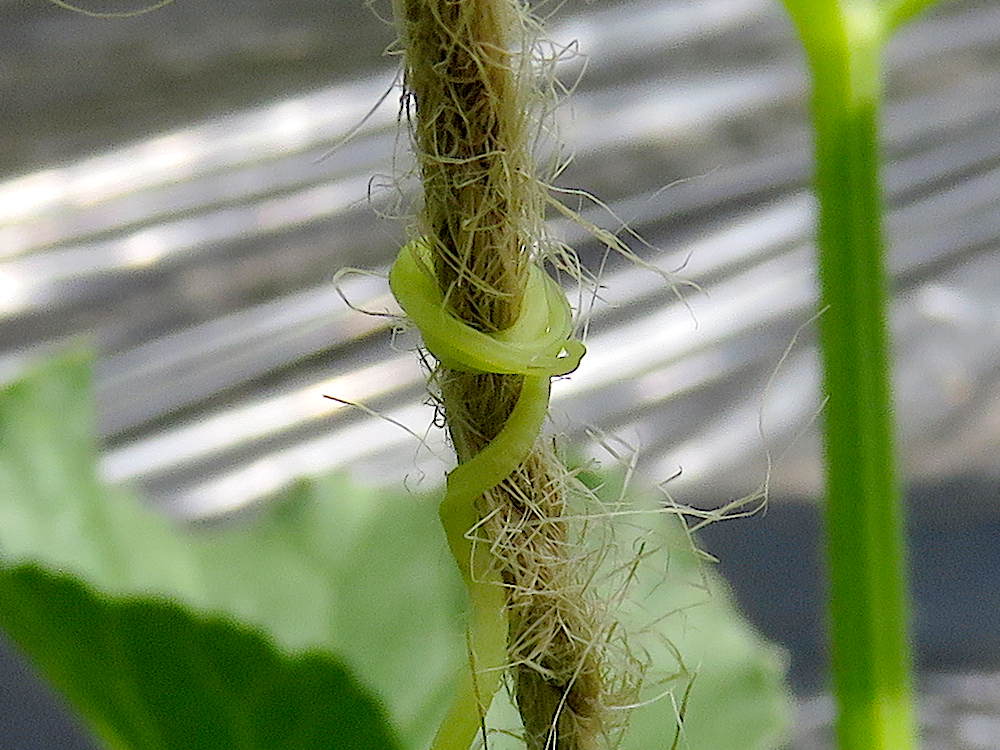
This is what I’d been waiting for: a melon tendril at last took the offer and coiled itself firmly around the conveniently positioned twine. It’s part of my misguided trellising idea for a few cantaloupe plants. I haven’t grown melons often, and always let them sprawl on plastic, so I guess I’d forgotten that trellising melons is not a great idea. Just the thought of heavy fruit hanging doesn’t make sense. But rather than think about it, I built a little A-frame, and then started crisscrossing twine in a vague 3D grid. Well, I’ll reclaim my screws and scrap wood at the end of the season, and the jute twine can return to the earth.
Pie plate protection
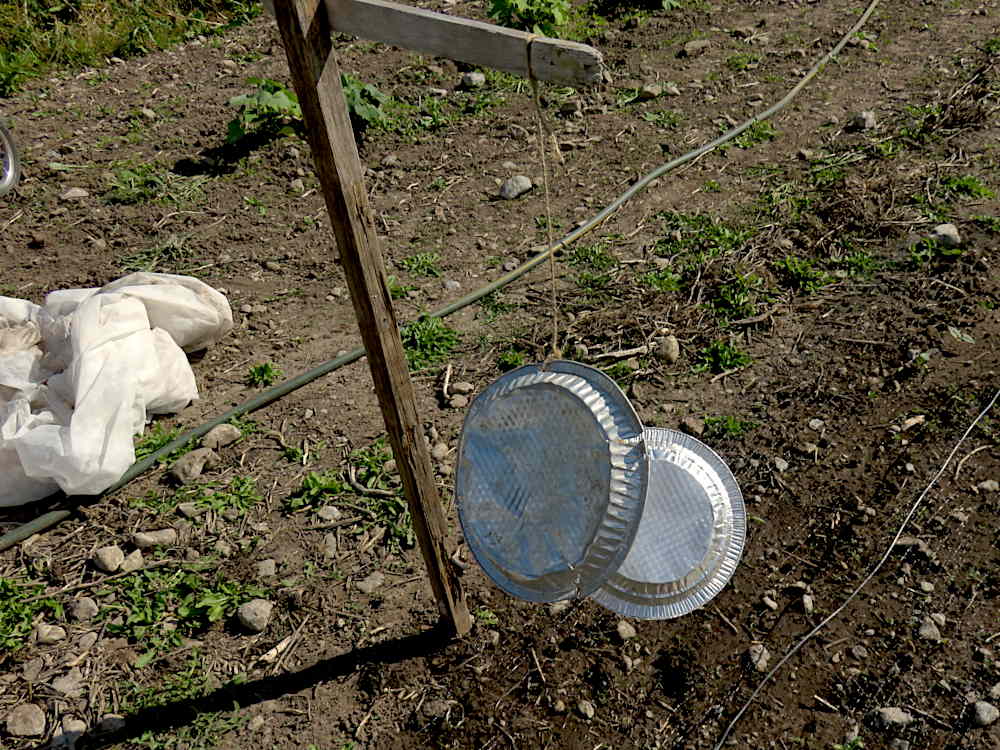
A couple of pie plates tied to a post, fluttering and lightly clanking in the breeze…scares birds. Why mess with the birds? In this case, to protect green beans as they emerge as perfectly peckable bird treats. To prevent avian decapitation, pie plates work, more DIY than scare balls, with the added dimension of sound. Not as soothing as wind chimes, but relaxing in the background, probably because it signals…protection!
DETAILS: Wind is always at work, doing what it can. The holes in the soft aluminum, tugged at by the twine, slowly enlarge. A day of heavy gusts and the plates can eventually tear off—there’s a rip from last year on the upper pan. But that’s an extreme. You could reinforce the hole, but I don’t bother. For the next year, maybe make a new hole. There’s a lot of years in one pan. For the post, which can also get blown over, I dug a small hole with a trowel, filled it with water, then pounded it into the mud. Probably a foot down. The whole rig should hang together just fine. Windproofed!
Really new potatoes
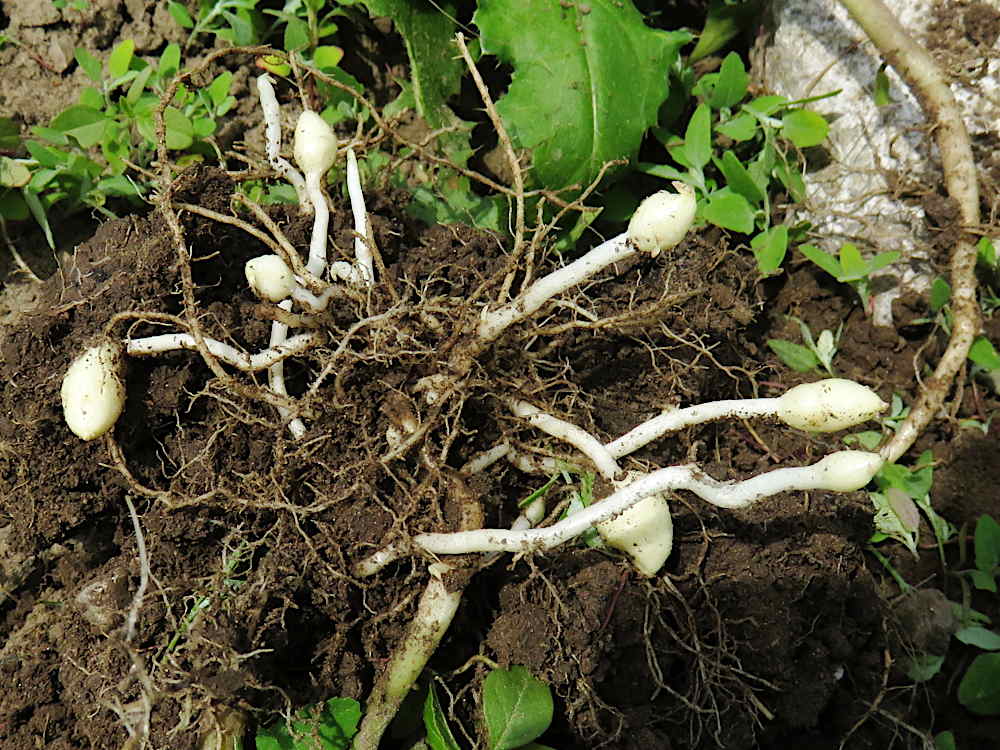
Pulling up some volunteer potatoes growing in close and competitive with some winter squash, I was mildly startled by this bright white activity among the roots. They’re the runners that head out to find a little clear spot to form new tubers—really new new potatoes. Can’t recall seeing them before, probably because this is the first time potatoes have turned up as weeds.
Of course, there is an explainer story. The runners, called stolons, are actually underground stems, totally apart from the roots. Along with the tiny tubers, they’re practically pure potato starch, creating storage for what is the plant’s fuel, and continuation of the plant’s life. The little pod tubers already have eyes, but they stay tiny and invisible to us. The tubers keep growing until they hit their genetic max size, or the leaves start dying off and there’s less starch. Then they form a protective skin to preserve the eyes and starch and wait out winter. When conditions feel right, the eyes start to grow, and eventually sprout into new plants.
If you put the stolons and baby tubers above ground in the light, they’d soon start turning into regular stems, stop storing and start using their starch, and try to push out leaves. I’ll trust the textbooks on this, don’t feel the need to see for myself at the moment…
So really, planting seed potatoes, not actual seed, means it’s all one continuous potato, year after year, as long as you keep planting some of its tubers. It’s vegetative propagation—just like garlic, but with a lot more to see. Pretty cool!
Melons in training
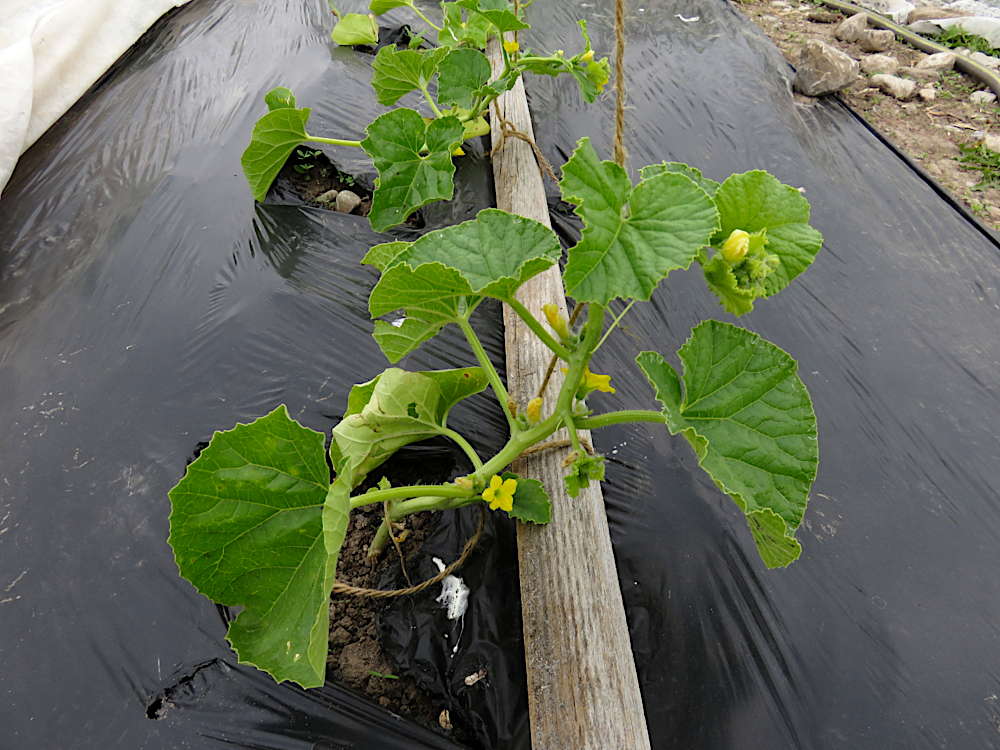
Melons have been out from under row cover for a couple days now, and seem fine. They look a little more vibrantly green in the photo than they do to me. It’s been weeks now of more cloud than sun, and none of the crops have the deep green, raring to grow look so far. But hot sunny days are forecast. I moved the vines to lean on the twine so they can head up. The tendrils haven’t figured it out yet. Those little yellow spots on the one leaf at the bottom left are maybe some sort of bacterial attack. Being out in open with good fresh air circulation will hopefully keep that from spreading. I’ll remove the leaf if it gets worse.
Since I don’t use pesticides, other than occasional plant soap spray, it’s really up to the plants to do their thing. The row cover as cucumber beetle protection worked, although using heavier cover made it more humid under there, perhaps promoting the bacterial spots. Giving them something to climb improves air and keeps them off wet ground. I try to be helpful, without getting in the way! :)