
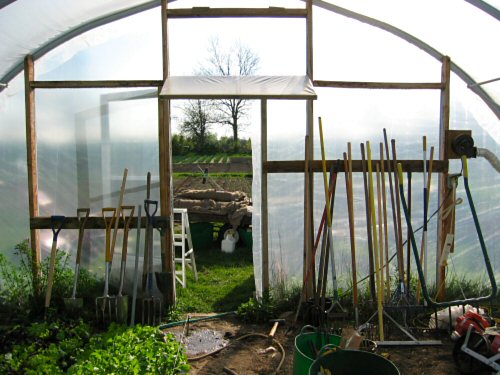
Tiny farming requires lots of bits and pieces, gear inevitably gets jumbled and misplaced, and the whole show can start to slow down as things get in your way and you spend time searching for this or that. Sorting things out is an on ongoing, neverending process. Last year, it seemed like a fine idea to stick all the hand tools in a 55-gallon barrel, so that nothing would be leaning against the hoophouse plastic. What a bad idea. Everything got tangled up, I began leaning my most used stuff against the barrel, and this year, when other people also started using the tools, it got completely out of control. Today, I screwed a couple of boards across the studs in the end wall—instant (if temporary) relief, and it got the barrel out of there, making it easier to move around the seedling tables. A place for everything and everything in its place—here, that often annoying recommendation does make sense!
carpentry
Wood pile
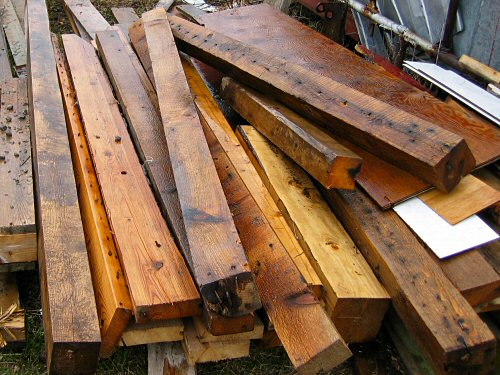
It’s too wet today for fieldwork, and the seedlings are all set till starting squash, cukes and melons in a few days. There’s always lots of other stuff to do, like building an enclosure for the new composting toilet (a modern outhouse in the field). For that I did a quick inventory of scrap lumber. This outdoor pile (there’s more in the barn) comes mainly from the demolition when we extended the old Milkhouse last fall. Some of the wood is over 50 years old and in fine shape for framing. Building and fixing the stuff you need is a natural part of tiny farming. It’s even more satisfying when you can use materials you have on hand—recycling that you can actually see in action! It makes sense!!
New rack ready to roll!
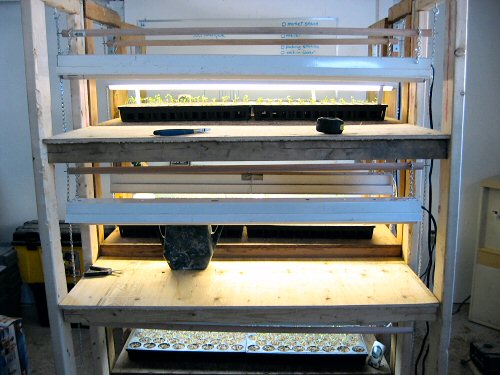
The new grow rack, lined up with its brothers, ready to go to work. The carpentry’s real rough, but it’s sturdy and tried-and-true functional. The addition of 3″ casters has created an unexpected PLUS: when the racks are rolled together, the overall light from the fluorescents spills across the shelves, giving a little more to the plants on the outer edges of the trays. This is good! There is a fairly big difference in early seedling growth from being even a couple of inches further from the lights. (Before, moving the racks around was a pain, and you need to get at both sides quite regularly for watering, rotating trays, generally checking things out. Yay for wheels!) In the end, most things even out, but you take every edge you can get and…they do add up!
Raw materials
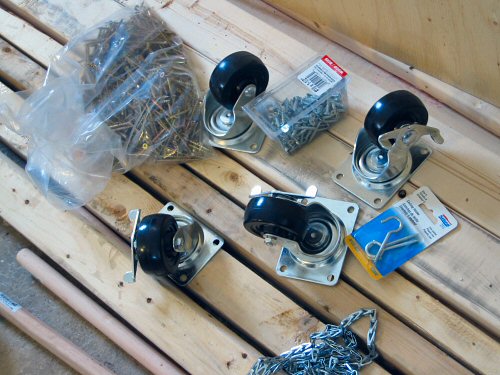
The materials for building a new grow rack just arrived. With this one, there’ll be three in all. It’s a bit a of milestone. I’ve used just two racks, built from ridiculously warped wood, to start literally thousands of seedlings over the last four years. Adding one more means a huge jump in production capacity. Well, 50% more, to be exact… Here we have wood, wheels (casters are a new addition this year for all racks), chain and dowels for hanging the lights. Cut up, screw together, add fluorescents…dead easy! And needed in the next few days when seed starting begins in earnest.
Inside the Milkhouse revealed
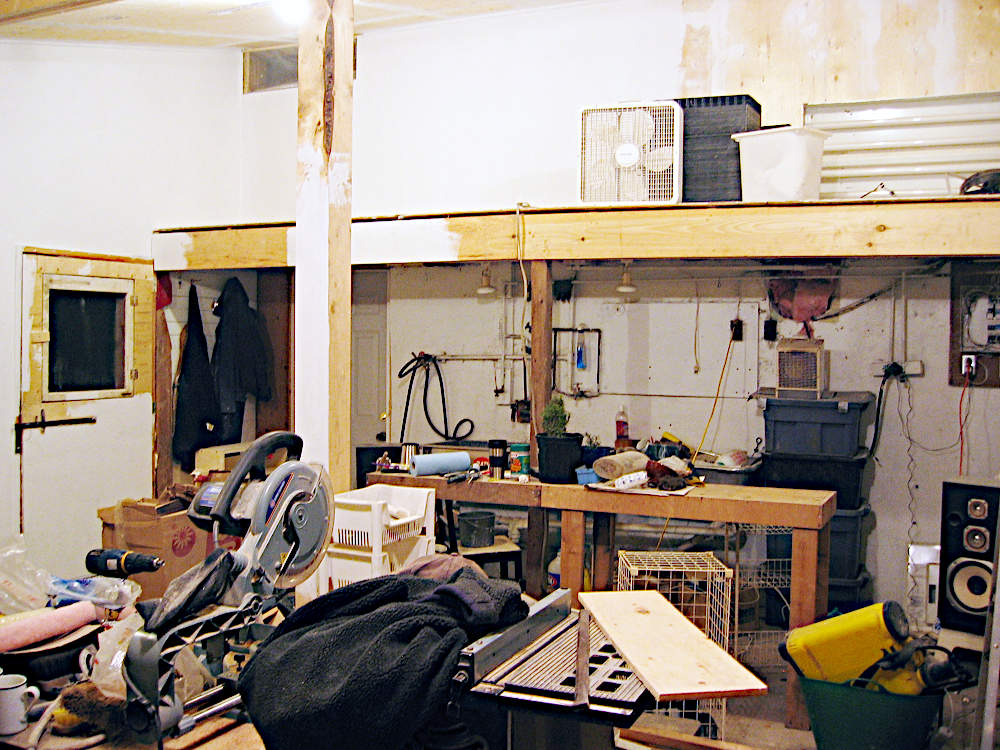
Written and posted 3 Nov 2023: A couple days into the new year, and the structural part of the Milkhouse expansion is done. Time to finish up the inside. The photo shows a bit more than half of the overall depth and most of the width, facing the original Milkhouse area. The walls and ceiling were finished with plywood, with the joins plastered over (you can see in the bit of unpainted wall and ceiling).
It’s amazing how much a photo helps along the old memory. Writing from 16 years later, most things are familiar, some I’m reminded of, and a couple I don’t recall. In that last category, that speaker: I have no idea where that’s from, complete blank. Wow, maybe it’ll come back to me. It must be a pair, I think I see the other one against the back wall, behind the partially painted post on the left. Come to think of it, I don’t remember what the speakers were attached to, either: an stereo system, receiver, something like that? Hmmm…
And now, for some insulation…
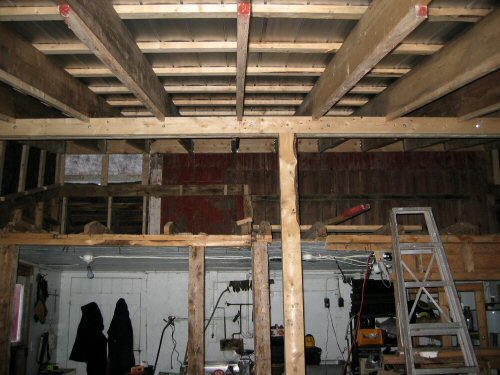
Inside the newly roofed Milkhouse, getting set to insulate. It’s kinda cold and dreary looking now, but it’s sure to get cheerier once the ceiling and walls are covered!
Galvalume!
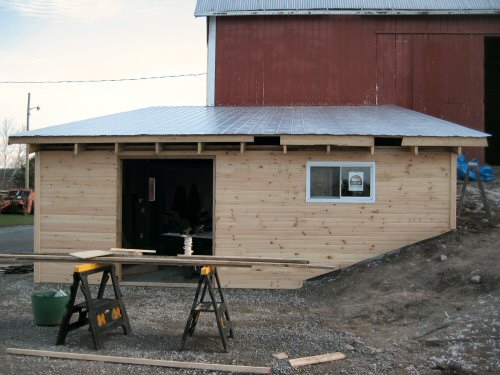
Build a little, learn a little about building materials. Screwing on the roof took two of us about four hours. It’s made of Galvalume, which was recommended by (and gotten at a bit of a deal from) a friend working in construction. I looked it up. Galvanized steel is made by dipping steel in molten zinc. The two metals bond on a chemical level, resulting in pure zinc on the outside, a mix of zinc and steel as you go in, and a center of pure steel, making for a highly corrosion-resistant final sheet metal product. Fascinating! Galvalume is an advanced galvanized steel, with a zinc-aluminum fusion going on. Well, well!