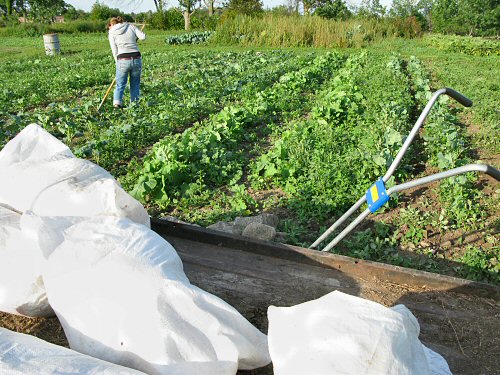
It’s been about six weeks, time to permanently remove the row cover from the last transplanting of fall brassicas! There are two sections, about 20 x 50′ beds in all, with broccoli, caulflower, cabbage, collards, kale. The cover protected against flea beetles, and at this point in the season, the FBs aren’t around much. Which leaves the post-cover weeding! I generally plan to remove the cover earlier, weed, and then replace it quickly, but this seldom seems to happen. Instead, it’s one big weed-a-thon at the end… Here, the mainly pigweed looks fairly big and dense, but it’s actually not much of a problem. The row cover has protected the ground from many days soil-packing rain, so the beds are nice and loose (it’s amazing how much rain can compact clayey soil). Weeds come out easy! With two people, it’s a relatively quick job, 2-3 hours for a pretty thorough clean-up. We worked with a combination of hoe and wheel hoe, me doing the paths and between-row clearing, and Lynn hand hoeing in-row, between the plants spaced at 18″ (45cm)…
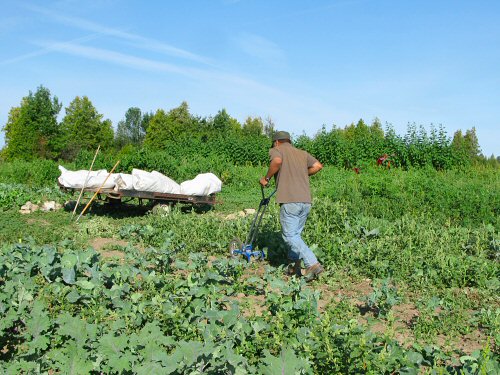
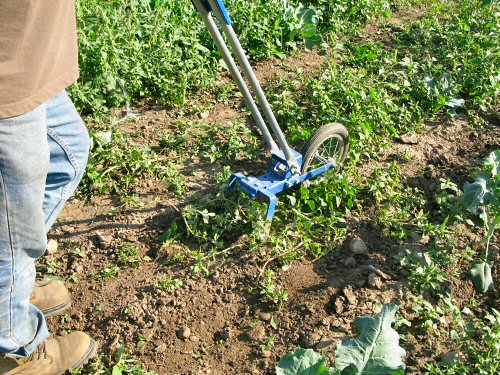
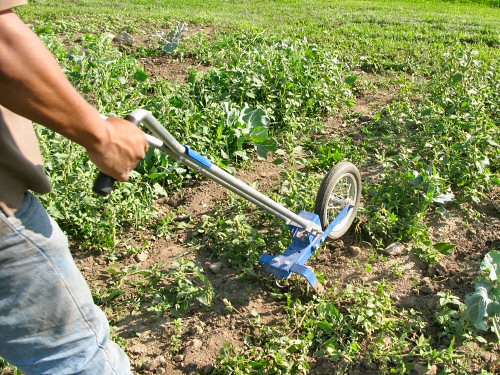
Each time I use the wheel hoe, I grow to love it that much more. So easy, so TIME-SAVING! It’s such a sophisticated yet simple tool, a perfect marriage of wheel, leverage and steel (you could say! :)… Today’s job is heavier work than it’s usually used for, the weeds aren’t just emerging, they’re pretty big. Rather than rolling the wheel hoe continuously down the rows, I’m cutting the weeds with a series of forward and backward strokes that either slice the plants below the surface, or pull them out, roots and all…
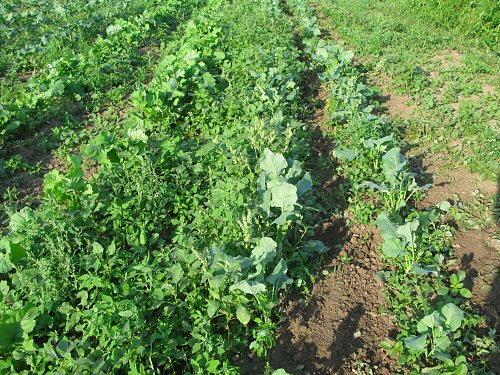
Clearing a path (before and after, above) in the loose soil takes maybe 3 minutes for 50′, many times faster than hoeing or hand pulling…
For this heavier weeding work, I use a fairly forceful forward stroke that travels about 1-1.5′ (30-45cm), then raise the blade to clear the felled weeds as I step forward to start the next bit…
The wheel hoe is equally good at cutting on a backstroke, which comes in handy for dense areas and tough specimens… It’s not particularly strenuous work: the blade is sharp, the wheel and angle of the handles give lots of leverage and momentum, and some part of the hoe is always in contact with the ground, so you’re never completely lifting the whole tool. Like most things I do here in the field, I’ve figured out how to use the wheel hoe on my own, by reading instructions, looking at pictures and applying my version of common sense. Techniques no doubt vary. It’ll be interesting to eventually see how others do things! Meanwhile, everything seems to work out…especially, the wheel hoe! (Wheel hoe action photos by Lynn)



I’ve often contemplated getting one of those wheel hoes….glad to hear you really like yours.It’s going on my list of things to buy for next year.
And your row covers look so clean! I ended up having to hose mine off halfway thru the season. I was pulling them off during the daytimes, and laying them down between the rows….
Annie
http://countrylivinginacariboovalley.blogspot.com/
Mike,
The first year of growing I purchased a wheel hoe from Johnny’s, yours looks like a Valley. I was very frustrated trying to use it on newly broken sod. My weed pressure was intense and I did not have a rototiller. So I thought I “wasted” my money on a tool I could not manage with my biceps.
Last season it did not see any action. This 3rd growing year I pulled it out and gave it another try-voila!! I love it! So fast and EASY if, and that is a big if, it gets used on time. Weeds must be small. If they are higher than 6″, well, it is too much of a wrestling match.
Happy Hoeing-Julie