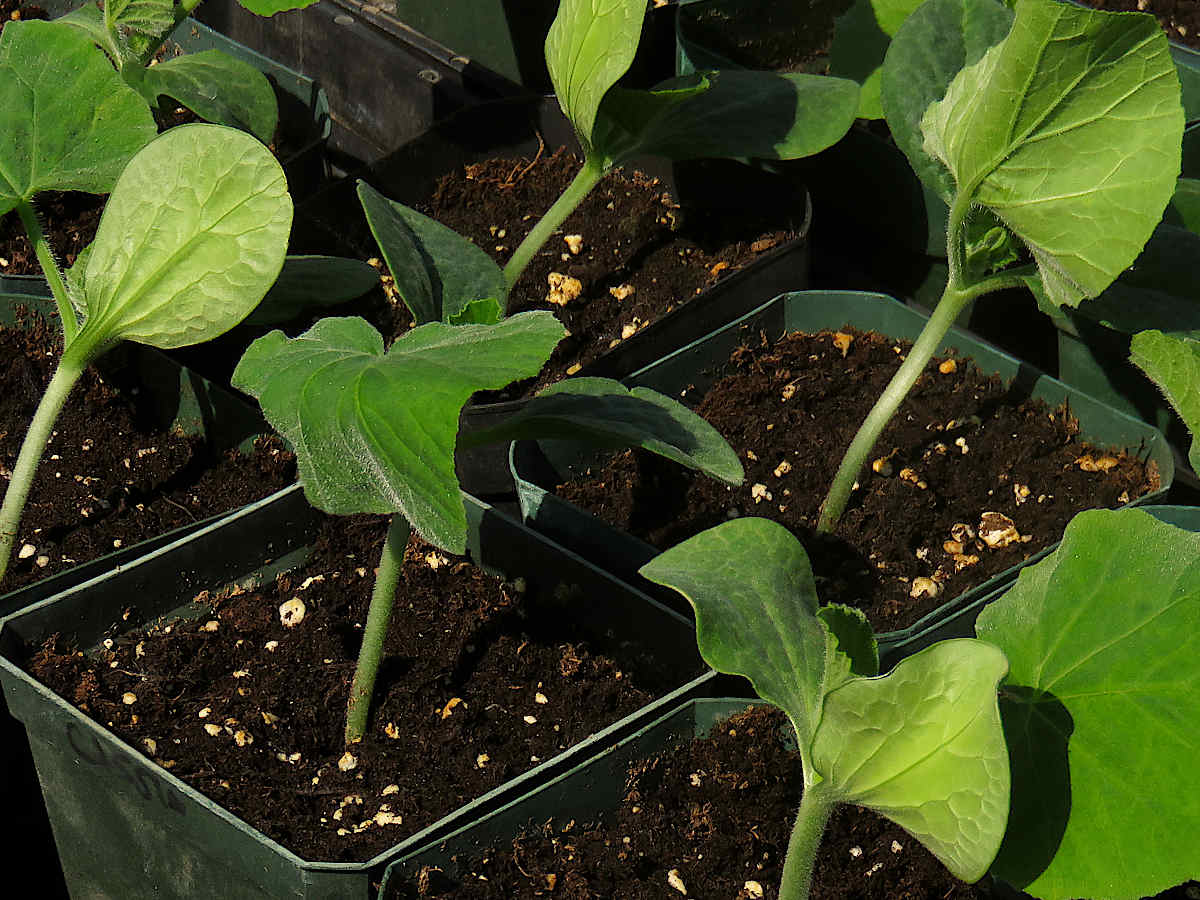
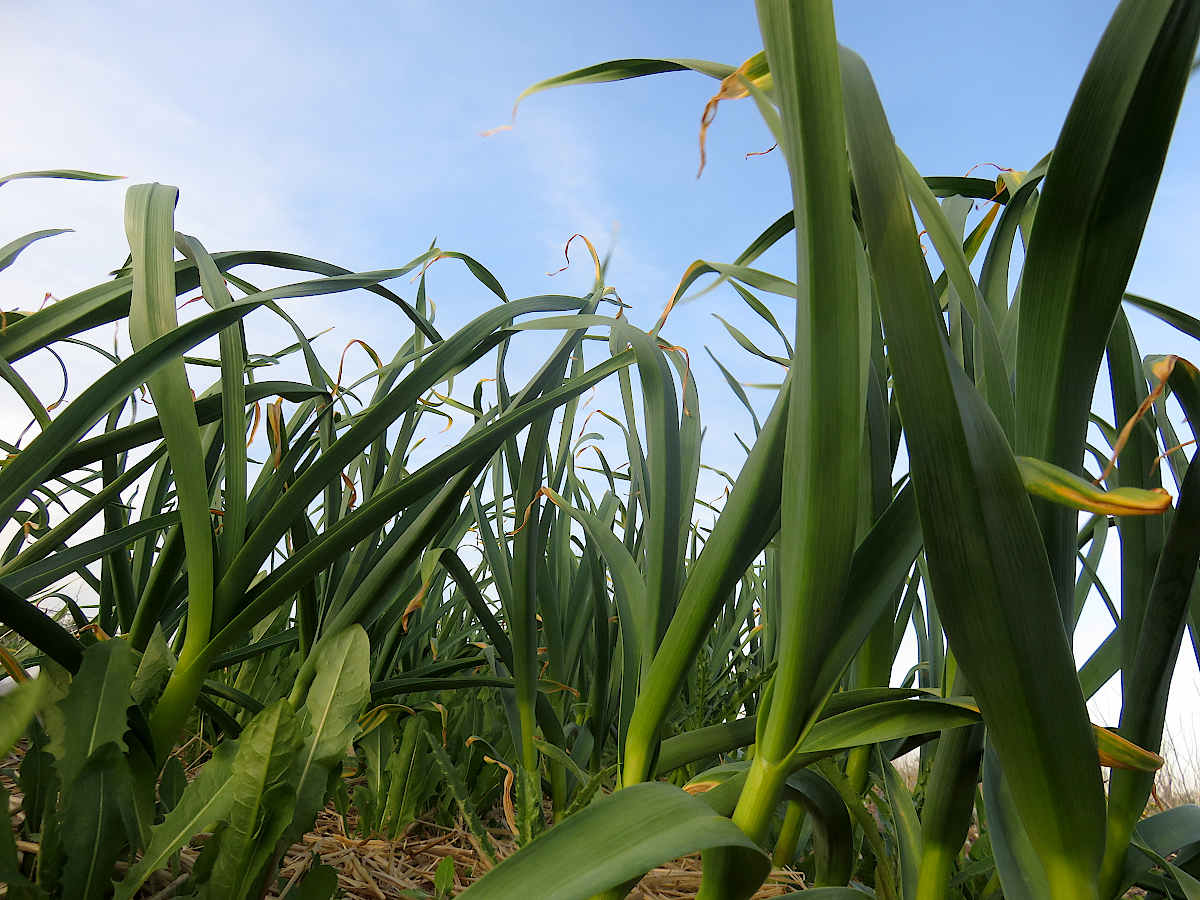
Pot experiment

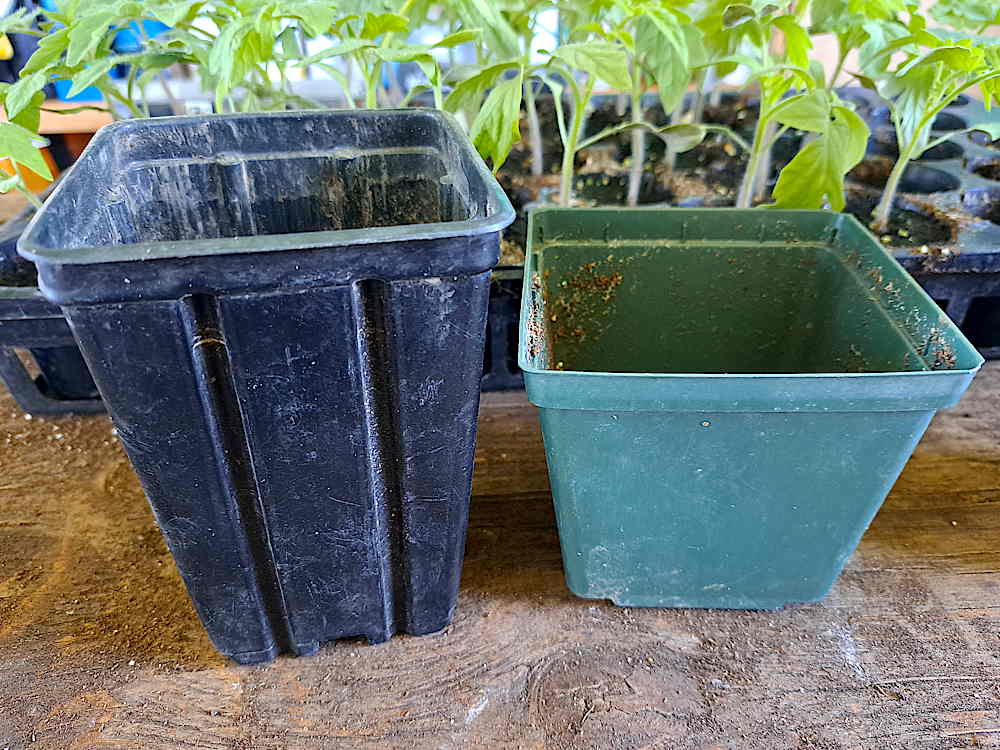
Which pot is better for tomato seedlings, the narrower, deeper, or the shorter, wider one? This is an experiment I’ve started probably half a dozen times over the years, then got so caught up in everything else going on in a typical growing season, I never followed up. Maybe in this quieter repair year, we’ll get to a result!

The general idea is simple: roots like to grow down, looking for food and water. Give them a headstart in the down direction, and you should get better results. Earlier fruiting, bigger fruit, overall more productive plants, especially good if you have a shorter season like here, where fall frost will put a halt to the toms. But there’s a big tiny farming BUT.

Labor is that big thing. If you have hundreds of toms to transplant, especially in our heavy soil, digging that extra couple of inches actually takes time and effort that adds up. Having tomatoes a week earlier, if that proves out, won’t offset not getting the transplanting done on schedule in the first place. Adding extra work for a cool idea is a tough one on a hand-run farm that’s not optimizing in terms of thousands of tons of produce like a big commercial, mechanized farm.

I’ve usually gone the other way. Grow toms in plugsheets that would seem ridiculously cramped and tiny compared to the substantial home garden seedlings available for five bucks a pop at the garden center. Get them in the ground early, buried up to their first leaves. Frost risk? There’s always row cover! Let them get on with it from a young age.

Still, experiments are fun, and when you learn stuff by trial and error, first-hand, the knowledge usually finds a way to become useful. Hopefully this year, there will be a solid deep pot vs shallow result!

Peering down a rabbit hole

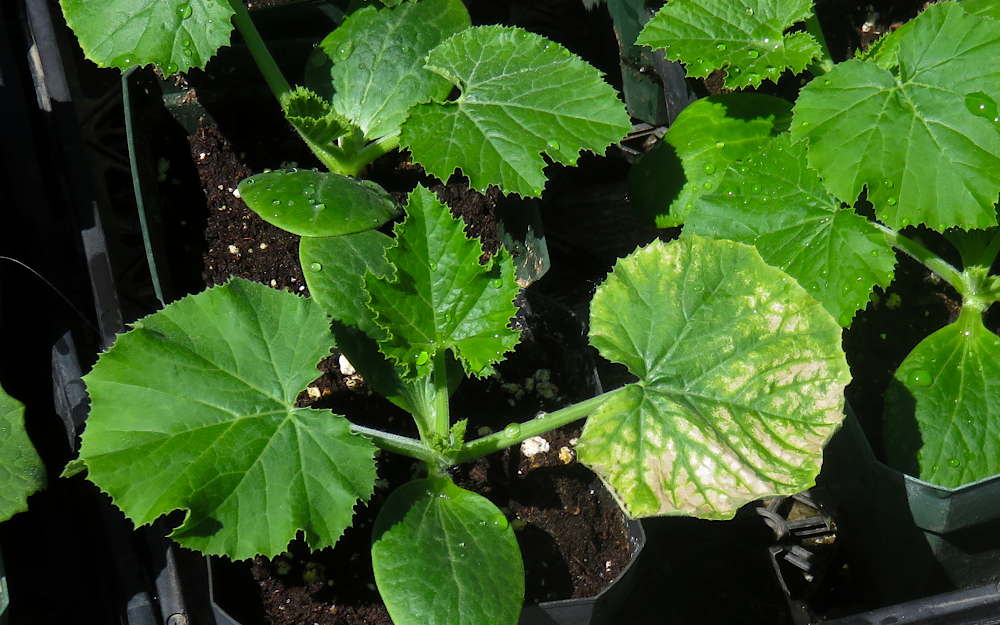
Not a literal rabbit hole, instead, the one that I encountered when just for fun I looked into sunburned leaf damage, like what appeared today on a single squash leaf. Sunscald during hardening off isn’t what you’re aiming for, but it happens and it’s never been a big deal. So long as the seedlings are well-watered and the roots aren’t getting cooked in their containers, they’ll be fine has been my experience. Still, since only one leaf among around three dozen squash and melon plants got burned, after several full days in the sun, and yesterday half overcast, I took a mild interest—if I was a lot busier, with hundreds or thousands of seedlings on the go, and everything else looked fine, it wouldn’t get a second thought. Odd one-offs happen all the time.

A bunch of reading and skimming of farm and garden blog posts, university agricultural extension papers, science mag articles, and scientific studies, and no answers. The sunburn itself seemed unusual, especially after a half-cloudy day. Of course, our SPF sunscreen-and-skin cancer training has told us that UV is still strong on cloudy days, but why did only one leaf get so toasted?

Then I discovered the UV spike. Not so widely written about, not as confidently stated as ~80% of UV makes it through clouds, but a real thing. When certain types of cloud pass in front of the sun, like perhaps the fluffy cumulus ones that floated by most of yesterday, the fringes of said clouds can act as a magnifying lens or filter that focuses and directs UV straight down, resulting in an intensity spike of maybe 25%. Could it be that one big early leaf hadn’t been shaded by the others on previous days and gotten more exposure and hidden damage, and just couldn’t take a day of high-powered UV micro-blasts, a few seconds each as the sun disappeared and reemerged, over and over. Hmm, that sounds maybe fairly reasonable…

Soon after, I lost interest—WHY would I want this explained? I could think of no good reason. I’ve found with tiny farming that learning is continuous and great, but what you choose to take in is also critical, sucking up everything is a waste of attention. The one burned leaf isn’t a mystery, it just clearly happened. And unless more similarly unusual things appear, I’m not particularly curious. The real thing to remember: harden off, a couple hours max outdoors the first day, and keep them well-watered and not boiling in their pots! When they get into the real ground, small ups and downs along the way will be forgotten, they’ll spread their roots and do just fine. Conditions in the field being favorable, of course!

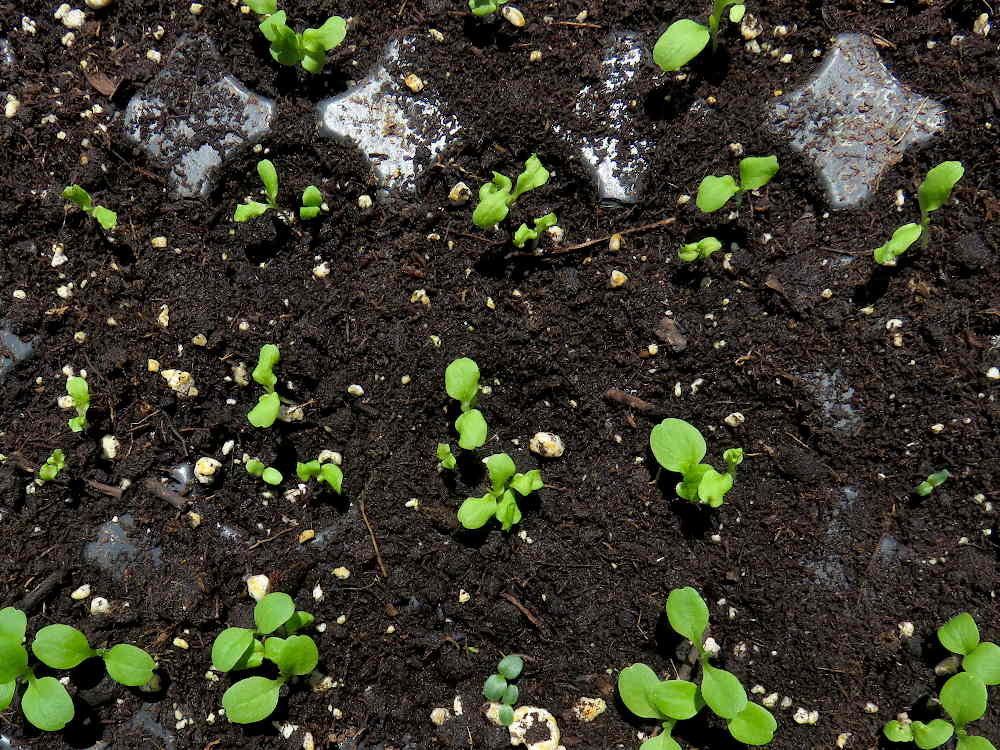
Thigmomorphogenesis

Squash seedlings in a stiff breeze

Squash seedlings in a stiff breeze—gale-force wind would’ve made for a more dramatic image, but thankfully not. This bending and fluttering of leaves is another benefit, besides the sun, of taking indoor-started seedlings out into the real world.

Movement, like blowing in the wind, triggers the catchily named thigmomorphogenesis process in plants, where they dramatically toughen up after getting a little pushed around. It could be wind, a pummeling rain, animals or hands brushing by or moving them about. Makes perfect sense for them to armor up.

I’m not particularly into the details of how they change, develop sturdier stems and whatnot—tougher seems to sum it up just fine—but it’s good to know about (I used to use an oscillating fan in winter). And I really like the term. For most of my life, my casual thought was that knowing everything would be cool, kind of like AI tries to today. At one point, though, conveniently marked by a certain blog post, my thinking flipped to often wanting to know less. Not cheering for ignorance, just comfortably sticking with what’s necessary for the moment. So, thigmomorphogenesis—long, unwieldy, yet surprisingly easy to pronounce after a couple of tries!

Garlic revealed

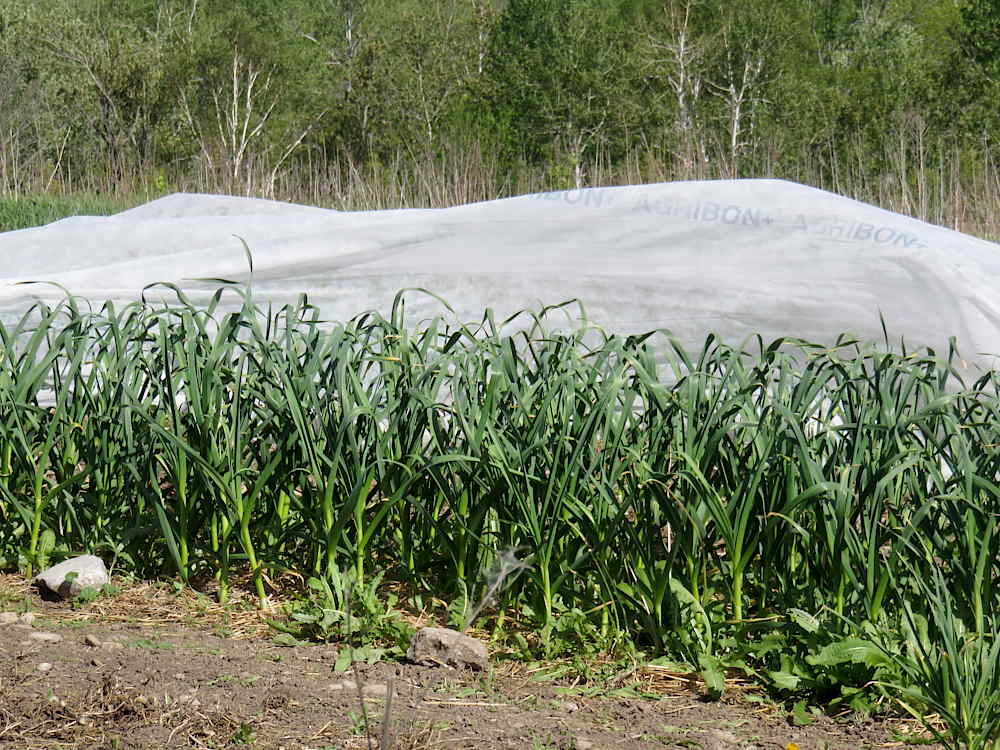
Garlic mid-May

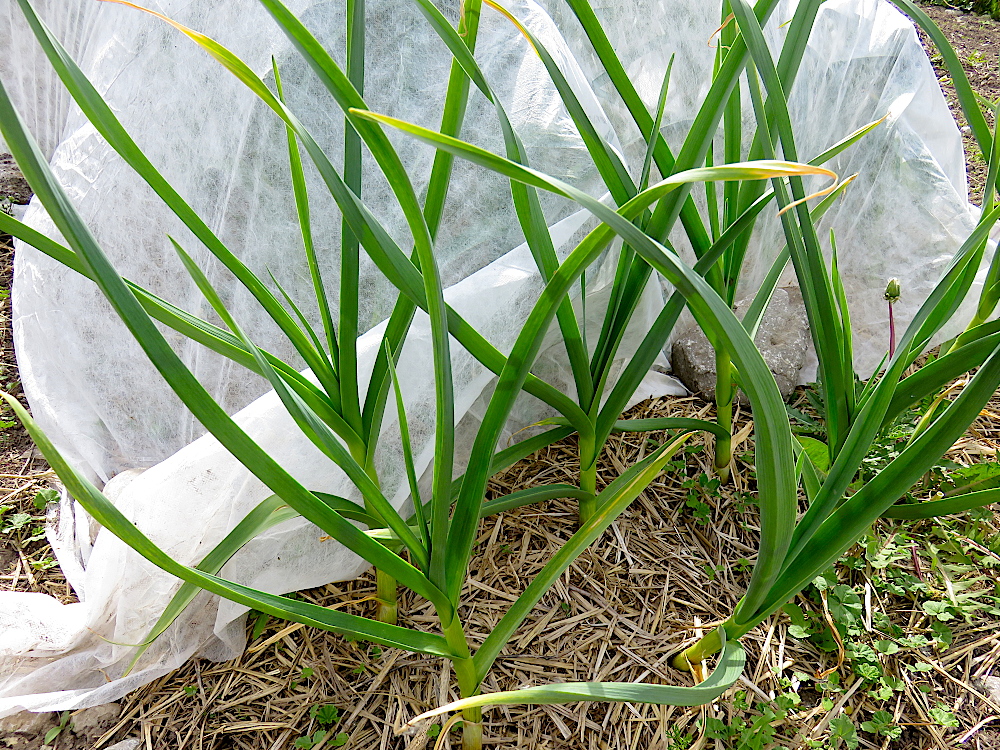
For the first time after years and years of growing garlic, they’ve been under row cover since planting in fall, protection from a repeat of last year’s surprise invasion of the leek moth. No longer the one crop that every garden pest, from deer-sized to flea beetle, seemed to studiously ignore. I covered them right after planting so I wouldn’t have to muck about in the marshy field in April before it dried out, and loosened it up earlier this month.

Today, a full day of unfiltered sun. Leek moths are out and about at night, so the garlic should be safe even if the moths are in the neighborhood. The plants look fine, healthy and growing quite fast, though the leaves were a bit bent at first by pushing up against the cover. Cover went back on late in the afternoon. Better that than be bored (by leek moths).

Burying Gold

Planting Yukon Gold seed potatoes in a trench

Yukon Gold seed potatoes, placed in a trench, covered with a layer of on-farm compost made from cow manure, and carefully tended—watered and weeded, and hilled up with earth as the potatoes form upwards. In seven or eight weeks, scrabbling around in the dirt underneath the plants is rewarded by the first golf ball-sized new potatoes. So delicious. Yukon Golds were the first potatoes I planted—I almost remember reading about them and thinking of them as a kind of super-potato. “All-purpose” was the magical attribute. Starchy enough for fluffiness when fried, roasted or mashed, yet still with the firmness to hold up quite well in potato salad or a stew. These guys are spaced a foot apart, close enough to commune with their tribe, not so close they start to eat each other’s dinner. With decent weather, this batch will be a mouth-watering harvest just down the line!

Zukes vs cukes

Zucchini and cucumber seedlings

Zukes vs cukes—same family, different natures. On the left, zucchini are big, bold, and prolific with fruit that blow up to dirigible class if you take your eye off of them and stop harvesting more or less daily. On the right, cucumber, more modest in appearance, preferring to vine out than shoot up, unless trellised. Cukes are about equally prolific in the quantity of fruit as the zukes, but not so prone to expanding when left unharvested. Here, barely two weeks from being seeds in a package, with very similar seed leaves (the first two leaves to come out), the difference in their true leaf size already displays their separate ways. Today, they’re out in the sun.

Gushing is good!

A gushing water hose—nothing more normal and mundane wherever electricity for pressurized pumping, and of course WATER, are in plentiful supply. This tiny farm is in such a place, yet the gushing hose signals something much happier, an elevated event, because it’s proof positive that the dug well that irrigates the field is back in action once again after another frozen winter.

Priming the pump is usually a mid-May thing, when freezing is over. The operation is simple enough: slowly pour a couple of gallons of water into the pump so it backfills the pipe that goes into the well, turn on the pump, and wait for it to catch. It may take two or three top-ups and retries. When water gushes, the pump is primed for the season! It’s not foolproof, though, the pipe could’ve gotten hopeless clogged, or the well-used and dilapidated pump and tank could decide to give up a seal or conk out entirely. Then the simple would likely become costly repairs or replacement. But not this time!

Details! If the irrigation fittings look small, they are indeed. I’ve seen photos of irrigation set-ups on big farms that are full scale waterworks, orderly grids of giant pipes. Here, the setup is a 1″ plastic pipe that snakes above-ground out into the field—it’s the disconnected part on the left. The pipe can be this small because it’s only meant for low-pressure drip irrigation, hand watering by hose, or a few sprinklers at a time: not every day, all crops, all the time. Also, a dug well like the one here doesn’t have an endless water supply, you don’t want to get ahead of its reservoir size and replenishment rate. Finally, the longer the pipe, the lower the pressure the closer you get to the end. Here there’s about 400′ of it, and you can notice the pressure difference at each of the taps spaced along it. It’s not geared to intense large-scale production, instead, a low cost way to connect a fairly distant water source to a thirsty veggie plot when there’s the need!