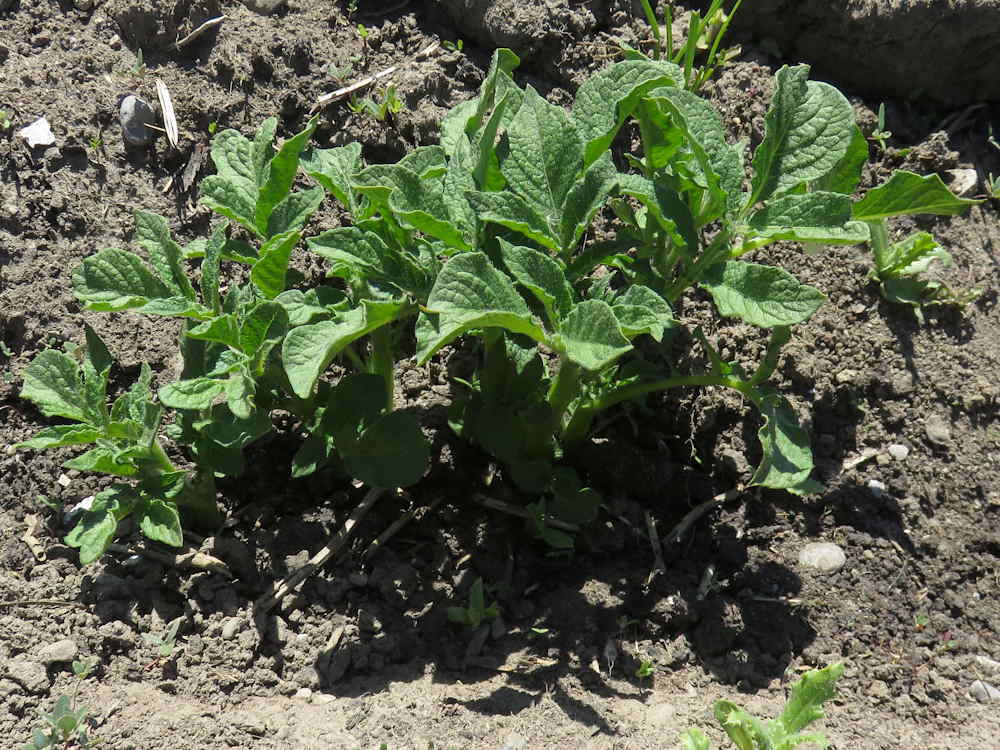
Round about this point in the growing season every year, I probably notice the same things, have similar thoughts. Late this morning, I happened to pay attention to the shadow of this happy little potato plant. That immediately led to thinking about how, as they grow, the veggies do their bit in helping you keep the garden going in the direction you want, that is, healthy crops not savaged by predators or overrun with weeds. The veg are like…partners! A pleasant way to look at it, though imaginary. In any case, the shade under leafy plants helps suppress weeds, keeps the soil temperature even, and preserves moisture. The bigger the plant gets, the more of the garden it covers! Of course, it works the other way as well!
Spring
Pot experiment update #1

The story so far: Five days ago, 10 tomato seedlings, five each of two varieties, were potted up from the plugsheet where they started, to individual deep pots. The pots measure twice as deep as the cells, though they look taller in the photo. Pretty soon, all the toms will be transplanted at the same time, side by side, to see if deeper rooting leads to bigger, better, faster tomato plants. The ones in pots were also buried up to their seed leaves (that first pair that look like wings)—with their power of adventitious rooting, new roots will develop along the buried stem, so there’ll be a LOT more roots. The leafy parts look about the same between the two, while the real action right now is happening underground. In the plugsheet, roots are already circling around the cell walls. In the pots, it’s a root jailbreak, although they’ll find their new walls pretty quick. But walls that won’t be there forever!
Butterfly man

Sure, I know it’s there to suck up the minerals from my sweat. That doesn’t stop my moment of irrational wonder, feeling in harmony with all of Nature. Butterflies land on me!
These guys are always around the wet soil after watering in. They descend in a flutter of half a dozen or more, and land on the wet ground. Today, my hand was damp from the hose, so I slowly extended it toward them. And that’s when I received this sure sign that I’m one with the universe. To prove its intention, it gave me all the time in the world to get my camera from a bucket of gear nearby and capture the moment using my wrong hand!
As far as names for things, I’ll go with it’s a Silvery Blue (Glaucopsyche lygdamus), from my generally accurate or at least ballpark iNaturalist app. I looked into it at some point: they’re apparently after minerals and other nutrients they don’t get from nectar, and the behavior is called “puddling”. Hm.
Next generation
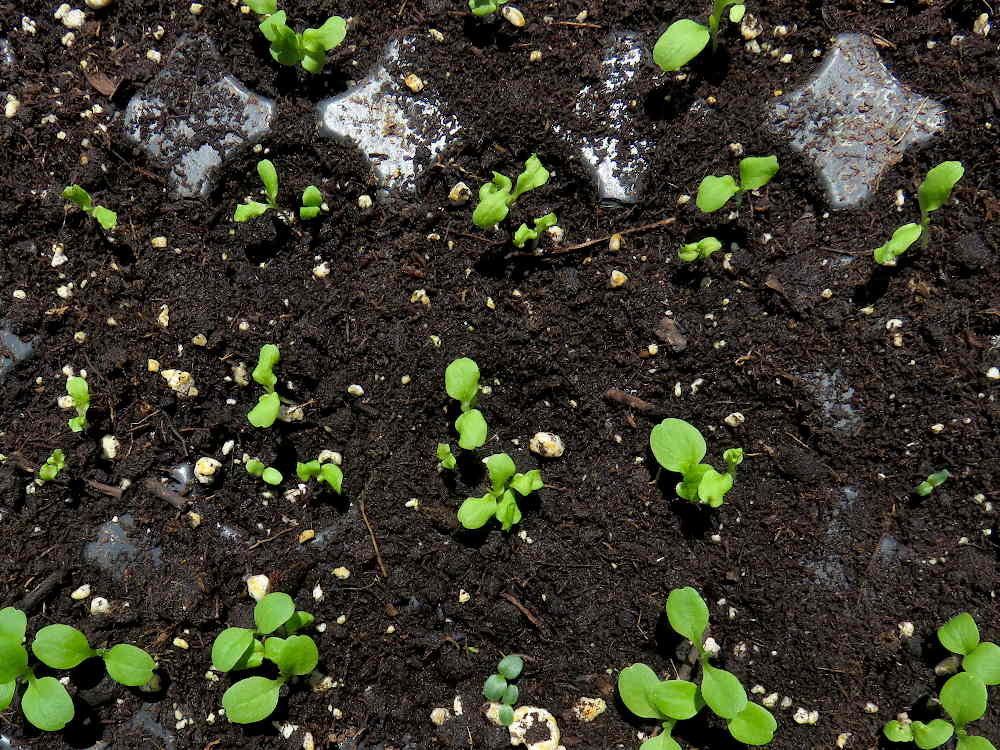
The second round of lettuce isn’t a next generation in a people having kids way, but it feels like one, as one seeding of lettuce grows to tasty salad size, while another is just getting started to take its place. Achieving an endless harvest is super rewarding (not to mention, necessary, if you’re going to market every week)—succession planting so that quick-to-mature, pick-once crops are steadily available at their peak all through the growing season. Salad greens like lettuce, mustard and arugula, baby bok choi and kale, also spinach, radish, summer turnip, green onions, and more can be planted repeatedly. Work out the timing, as things grow fast early on and slow down into end of summer and fall.
Oddly, in the hundreds or thousands of home veg gardening chats I’ve had, I can’t remember anyone beaming with satisfaction over their succession planting successes. It’s as if home garden seeding only happens in spring. Maybe lots of home tiny farmers do it, and just don’t like talking about it. It makes sense, it’s useful, and it’s fun to mention!
Wind and more wind
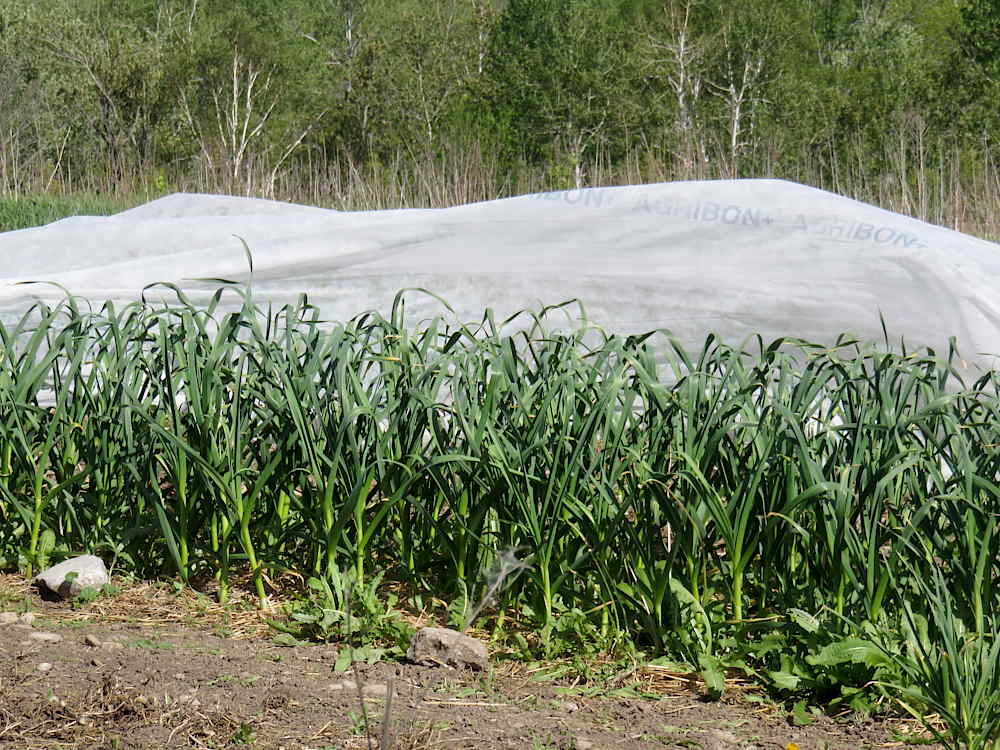
At this point, end of month, I’d have to say WIND has been the weather theme of this May. Practically every day. Gusty enough to sometimes threaten the more delicate seedlings, and to put off ladder work on the big greenhouse. Here, the wind has blown off the garlic’s row cover. Not a problem as far as protection from the nocturnal leek moth horde that may be lurking, but more work to put back. Complicating this little matter, the garlic is growing up and straining at the cover, gradually pulling it out from being fully weighted by the rocks. Since the cover should stay on through June, that will have to be solved. Stay tuned!
Brave garlic
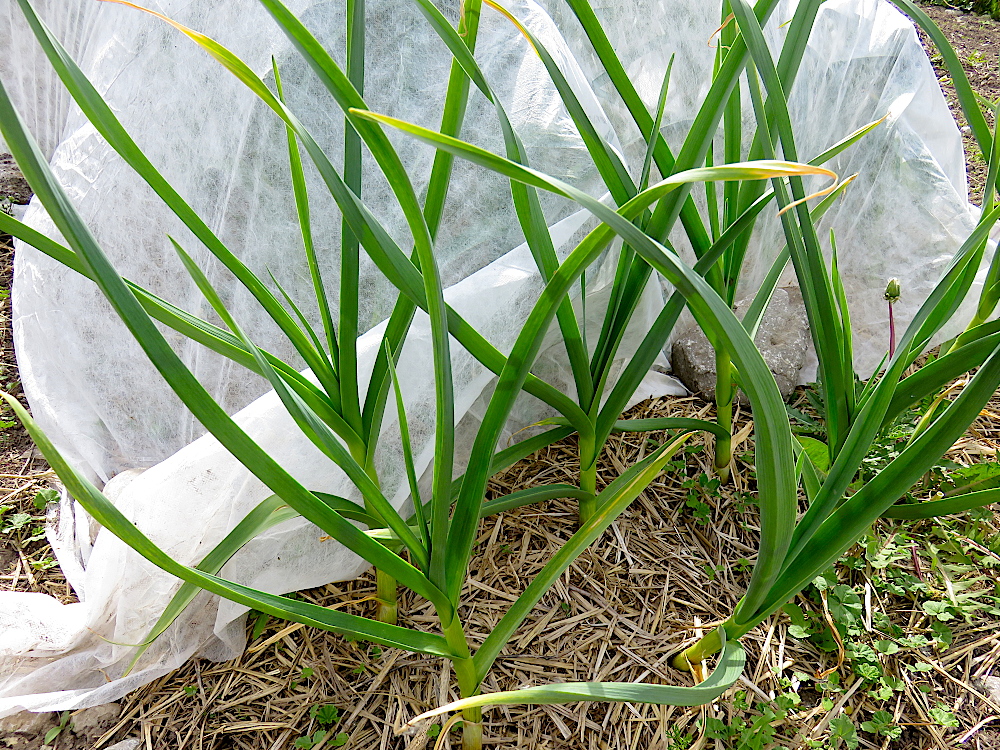
A few garlic, left out of the row cover leek moth protection tent, to see if the moths do arrive. I haven’t seen their eggs, or the moths, in person, just the busy boring larva. The eggs are apparently tiny and laid singly on the leaves, so hard to spot. I check daily. Pretty sure these brave guys, ready to take one for the team, are so far leek moth free.
Morning carnage
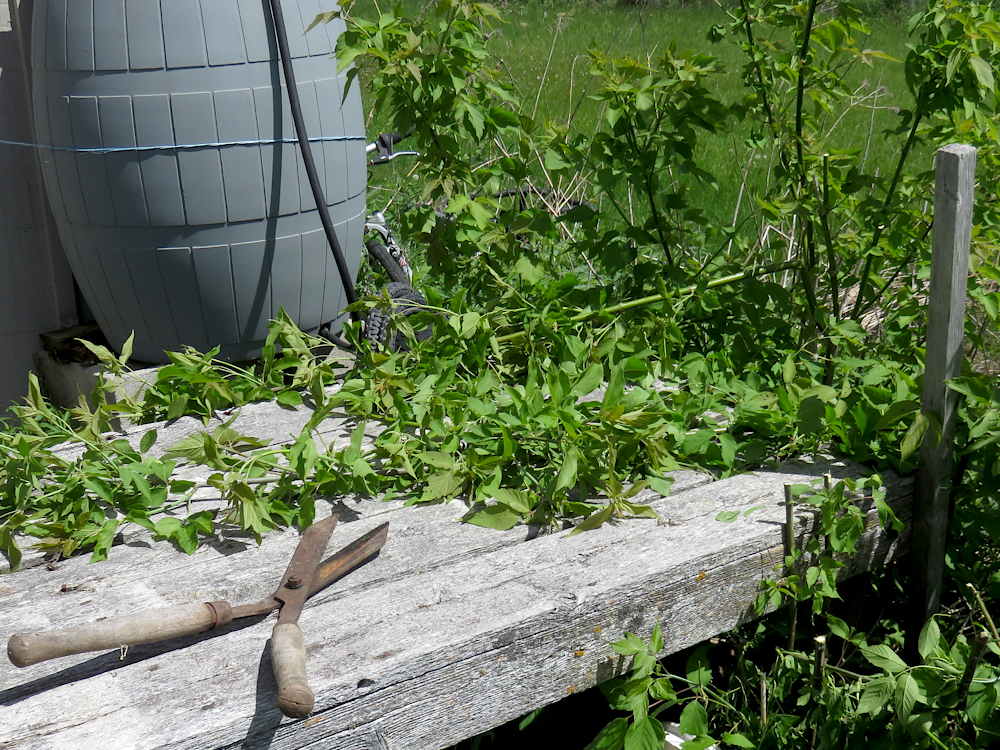
Weed tree, trash tree, table-eating tree, time to step back!
Cutting back the invading box elder from the work table, using antique garden shears, the best tool I have at hand, seems kind of brutal, but this is tiny farming. The whole idea is to direct some space, some land, to your liking. It is kind of militaristic in nature, there’s no getting away from that! Take over, suppress what you don’t want, install what you do, and hunker down to maintain position. I’m kidding, of course, actually thinking about farming and gardening in those stark terms is stressful, not useful or fun. IMHO, you layer on your story to suit the situation, and do what you have to do.
The garden shears only work well on the pencil-thick still-green upper stems, but that’ll do for now. Loppers—lopping shears, with long leveraging handles—would be perfect here, the tool for the job, though at the base this tree is probably a little past even them. So then, a pruning saw. I have neither, so a real saw, a sharp pocket knife, and some bending and twisting may be involved for a decent cutback. Or, much as I don’t want to invest in a box elder battle, I’ll get ahold of a pruning saw. I wonder how much the roots can expand, year after year, without any leaves to feed them…