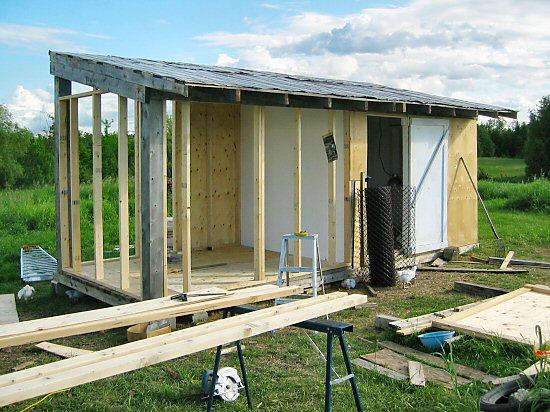
Reading about building stuff
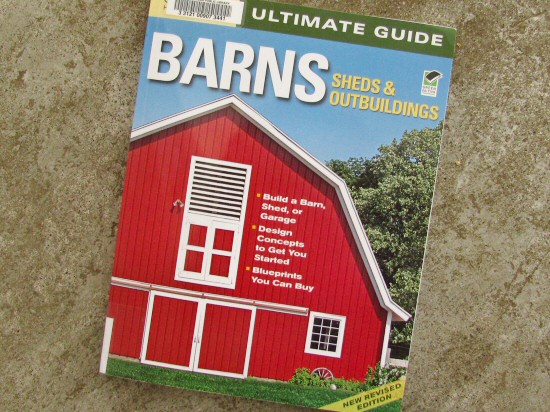
A great chance find at the library, lying there on top of a returned-book cart. This isn’t a book review or recommendation, although Barns, Sheds & Outbuildings is a cool browsing volume, full of clear explanations, instructions, and photos. What … Read the rest