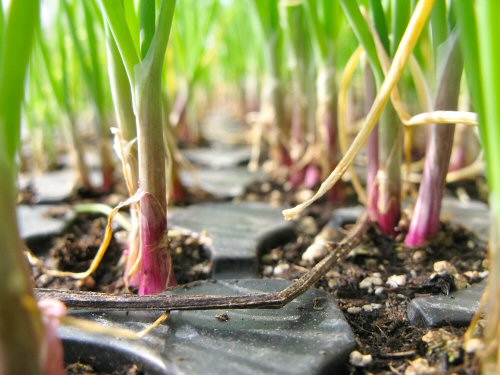
A last tray of onions—Red Wing hybrid red onions that did well last year—is hanging around the seedling room. What are they doing still not in the ground? Well, most of our onions—Stuttgarter-type yellow cooking, yellow Spanish, Red Wing, around 3,o00 in all—are already planted, in two sections, far apart. As I jigsawed together this season’s garden layout (now with the garden MAP), these guys just didn’t fit in the first two onion plots. So, they’ll get a bed of their own, somewhere, real soon, and we’ll see how they do compared to the others. Timing!
Water pipe
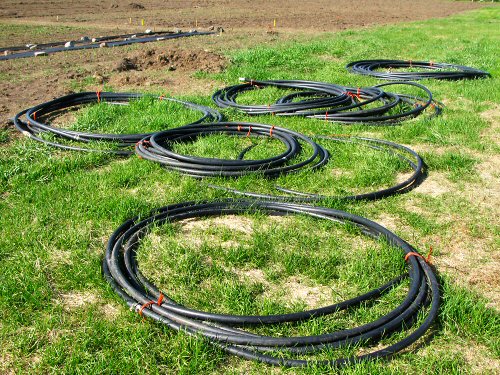
A bonus this spring has been the steady rain, not too frequent, like, once a week or so, and somewhere around 1″ (2.5cm) each time. Perfect! Still, today, in the middle of a hot, sunny stretch, thoughts turned to water (not that it was ever far from mind). Out came the coils of 1″ water pipe. In our barebones spot irrigation system, there’s 1″ pipe and a bit of 2-1/2″ pipe, endless 5/8″ garden hose and 50′ sections of soaker hose, the gas-powered irrigation pump, and even 55-gallon barrels and watering cans. Not to mention, piles shut-off valves, quick connectors, and various hose fittings. For now, all that I’m looking to set up is one central line running from the well pump at the house, right down the length of the side-by-side fields, where it can feed the garden hoses. So, uncoiling we go…
50 feet!
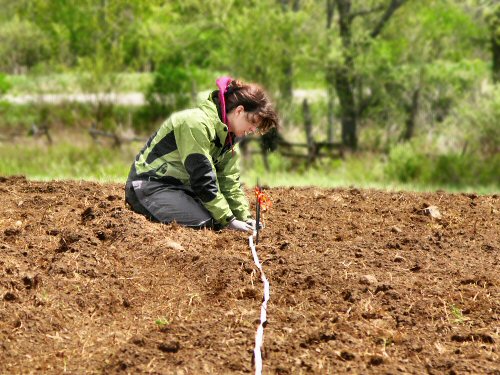
Nice sun, but kinda cool and definitely windy. Michelle came by for a day of mostly organizing and arranging: managing seedlings, and measuring and staking out garden sections (now, according to the new garden map). We’re once again using 50′ (15.2m) squares as the basic garden unit. The 100′ (30.5m) reel-up vinyl measuring tape is the handiest tool for this, as we walk up and down and around, a person on each end of the tape, calling out measurements and planting fluorescent-flagged stakes… There’s a satisfying sense of order when a freshly tilled section is staked out. All those neat squares tell you, you are master of your garden, and things are well under control! :)
Visiting at the farmers’ market
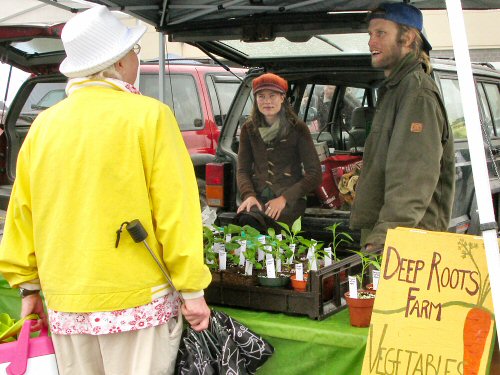
Another Saturday of visiting the farmers’ market. Unlike the market at the old farm, where Con was the only other tiny farm veggie vendor, here there are…several! Makes for great chatting… Anna and Greg of Deep Roots Farm (above) are our immediate neighbors to the right.
There’s Amanda of Tall Tree Farm…
…Lucas of Kitigan Organic, conversing about CSA, no doubt…
…and then there’s Jan of The Sprouthouse, source of my sprouts (and hand-squeezed-on-the-spot wheatgrass shots), with the very last bag of the day! Come early…
Filling the fields continues
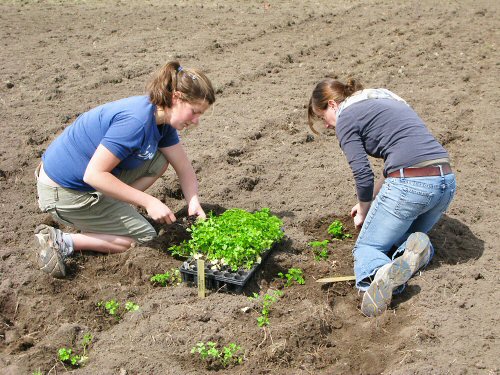
More slow but steady planting out. Flat-leaf and curly parsley, started so long ago, finally hit the field by the hands of Libby and Lynn. Later in the afternoon, we started one section of potatoes. The timing this spring is…unusual. We’re still tilling and retilling sections to further break up sod, planting the same crop in two or three different spots, and staggering planting dates by waiting as long as possible, to get as much variation in conditions as we can. It’s hedging bets in a new market garden…
Map day!
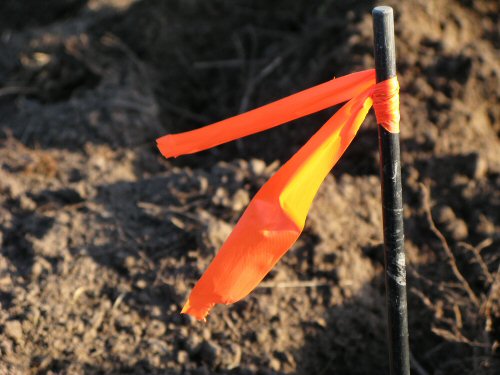
Finally, the first production map for this new market garden! Usually, it’s a good idea to get a detailed map done early in the winter, before making up the main seed orders (or, if that’s where you’re at, before taking inventory of your vast store of saved seed!). Here, with our hasty start-up in late November, and piecemeal plowing of sections over the last month, it’s been hard to tell how much area would be ready when. This morning, Peter down the road disked the final large area, and as the sun set, I walked around staking out sections with fluorescent marking tape, then sketched out the first production map. Each square is 50′ x 50′ (15m x 15m). To be filled in…
Happy signs of veggie life
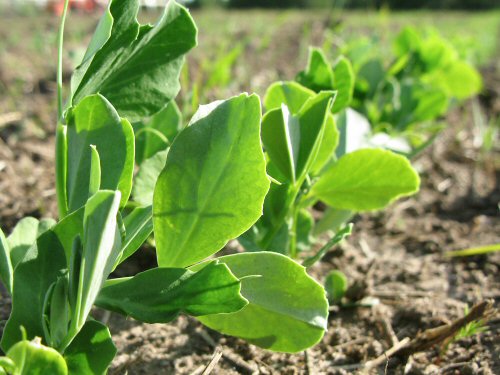
Snap peas (above) are still the crop to watch for pleasing signs of veggie life in the fields. Mild concern over the chopped sod content continues, so each new bit of healthy growth, while expected, is still a happy event! The soil itself is nice, I’m comfortable with the fair degree of clay content (water-holding is good!), I’m pretty sure we’re developing a good working relationship. And there is a lot of other stuff to see. Three successive seedings of Sugar Ann snap peas are doing well—the first two are below, and in the distance, two seedings of spinach, broccoli and cauliflower under cover, radish, beets,… And there’s lots more. With tiny farming and Mother Nature, trust is good, but seeing is believing!