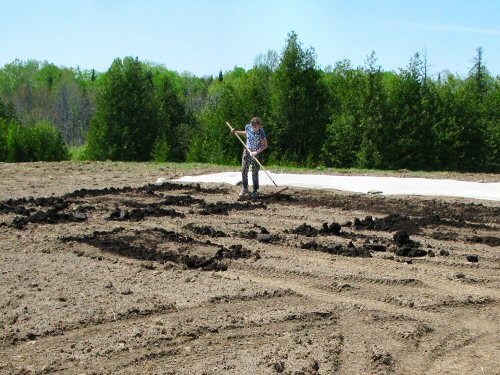
What’s in a photo? Depends what you’re looking for! Take this pic of Andie, rototilling today with the Kubota. Pretty straightforward: woman, machine, field. BUT, can you spot practically EVERY main part of a really tiny farm (at least, of this one), represented right here?
It’s mostly hand work, but there’s some gear: Of course, we have the Kubota compact tractor, flagship of an motley assortment of gear specifically suited to tiny farming. It’s rugged, very much a diesel TRACTOR, but small, and designed more for the big estate crowd than agriculture. Around here, though, it’s the workhorse machine, a people multiplier with its bucket and essential 48″ rototiller. As far as I know, rototillers aren’t core gear on tractor farms, but it’s our ONLY field implement so far, a huge labor-saver over walking up and down with the walking rototiller, or digging by hand. And the turf tires seem to work just fine.
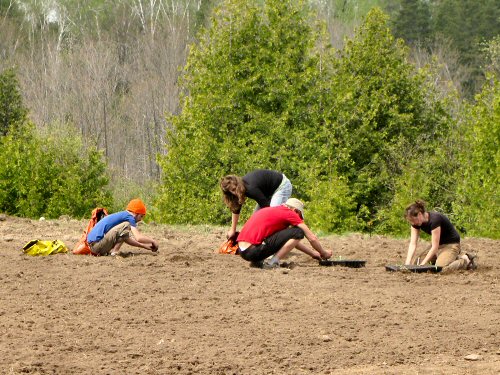
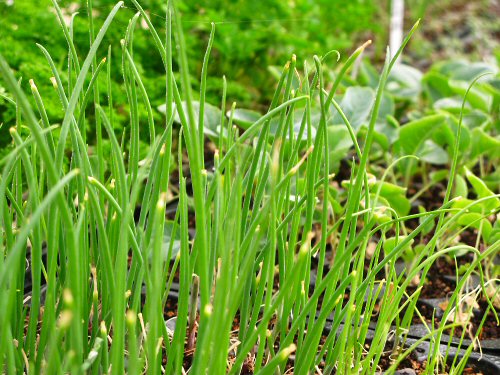
New people diving in: And then there’s Andie, doing (tiny) tractor work within the first few hours of her entire market garden experience. (It’s cool that she’s already looking over her right shoulder, it’s a classic tractor farming pose—except maybe not with GPS?) She also has DIRTY HANDS on the wheel, from checking out the tilling results, and they’ll stay dirty as she moves off the tractor in a few minutes, on to hands and knees to plant onions.
A big shed (aka barn): A barn of some sort is the main, sooner-or-later essential, working structure that separates clear land from a working tiny farm. Really, a basic barn is just a big, all-purpose shed (this one, 20’x32′, is pretty tiny, just four walls), for getting things out of the weather. You use it to store harvests and gear, and to work out of the wind and rain (and of course, we have winter). With rough carpentry, you remodel and reconfigure it to fit: an extra hook here, new door there, closed off room in a corner, whatever you need!
Lots of work, all day long: Elsewhere in the pic, less obvious but clear signs of tiny, labor-intensive veggie growing. In front of the barn, tables of seedlings are hardening off. They’re brought out in the morning, taken in at night, back and forth, back and forth. That’s because the greenhouse (hoophouse frame on the left) isn’t finished yet. And THAT’s because there is just SO MUCH TO DO ALL AT ONCE. Like, mow the grass for mulch, before it gets outta control. And get a new battery for the John Deere riding mower (on the top left), so it can haul around the trailer loaded with whatever we need to get LOTS MORE STUFF done. It all weaves into one big picture of tiny, simple, interdependent tasks that go on and on and on, all day long…
It can get a little intense, but it’s also really fun, if you don’t get all grim and serious about it and try to tie in the state of the entire planet (try to stop following the news!). You get to pretty much see where you’re going. Meet people in a really interesting way. Eat well. Sleep well. Kinda…simple! I think that’s a pretty good start…