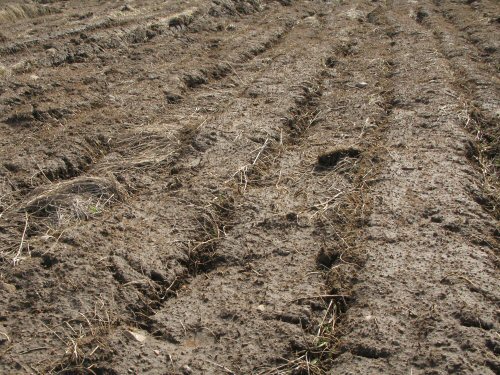
Sunny and quite warm (not as chilly as Mel’s deep-winter-ready, ear-flapped headgear might suggest). Probably 50°F+ (10°C) in the sun. Not the first nice, dry day this season, but this one became this farm’s official first fieldwork day of the year, just like that. We were only out for around three hours (including a walk to check on the beehives—there are some bees!—and the creek), but got a lot done, so it definitely counts as work in the field!
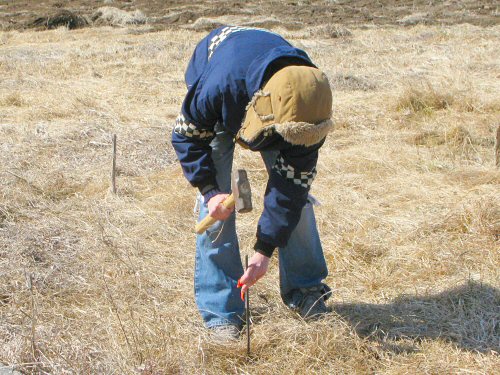
First, we selected a spot for the greenhouse, moving it from where we’d originally planned, to a more sheltered, overall all more PLEASING site. Pound in stakes at the roughly measured-in four corners, and admire the spot. The stakes are graphite tent pole sections Bob got at a yard sale long ago; flagged with orange surveyor’s tape, they’re great field markers. Normally you can just push ’em in, but here, Mel is using a mini-sledgehammer (above), because the ground is still frozen from a couple of inches (5cm) down…
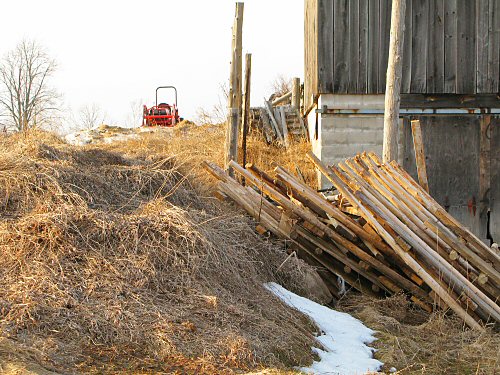
Next up, sort all the hoophouse pieces. The steel ribs and braces are on the right. There’s a surprising amount of wood involved, and that’s now divided into what goes where. And then, we dumped all the hardware out of the barrel it’d been moved in: a bucket of assorted, screws, nuts and bolts, plus springlock (wire that attaches the plastic to the frame) and aluminum springlock channels.
A surprise find: the last five potted wintergreen plants (Mel is chosing some to take home). I’d put them in the barrel on top of a bunch of parts when we were moving the greenhouse, and forgotten them there. After spending an entire winter totally exposed outdoors, and the last couple of weeks tumbled down into a barrel full of wiry metal, they’re still alive and looking cheerful. Tough and pretty. With minty berries…
And so, the return of the greenhouse is underway. The GH is sorely missed and really needed! Just gotta wait till the ground thaws, so the area can be tilled up and the 3′ (0.9m) t-bar anchors that keep it from blowing away can be driven into the ground…!