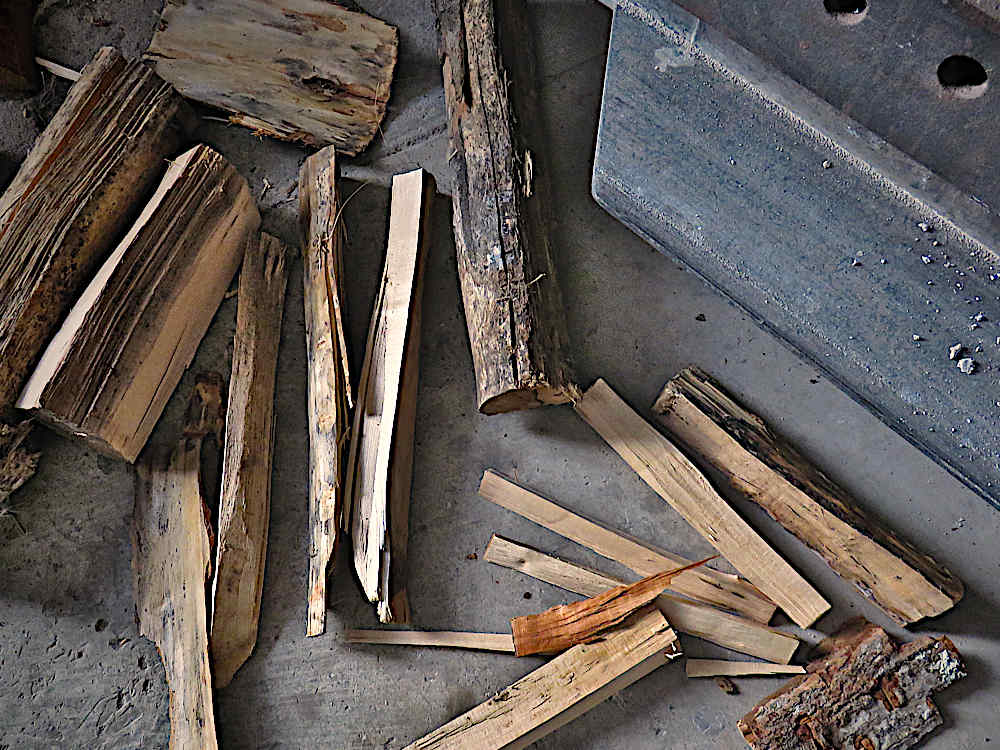
Wood heat has been the winter way around here for the last few years. The old wood stove, and stacks of firewood. In cold snaps, where it stays well below freezing, day and night, the fire is always burning. In the more usual dramatic temperature ups and downs, the fire is often left to run down overnight, and a new one built up early evening. I’ve become a little obsessed with firestarting using the least amount of paper and kindling, and only one match. I don’t suppose you could call that a skill, nor an art, but some kind of a game! I enjoy setting up for a dominos falling effect, but with fire. The easy-to-light, fast-burning paper lasting long enough to ignite the smallest pieces of longer-burning wood, which in turn start the next larger pieces, the bigger chunks get, the more steady, sustained fire it takes to set them ablaze. Idea for a video game?!
Tools
Equipment for large-scale agriculture is too big or too expensive, and many home gardening tools don’t work efficiently on larger jobs or break easily. Tiny farming on plots up to two or three acres requires its own special gear…
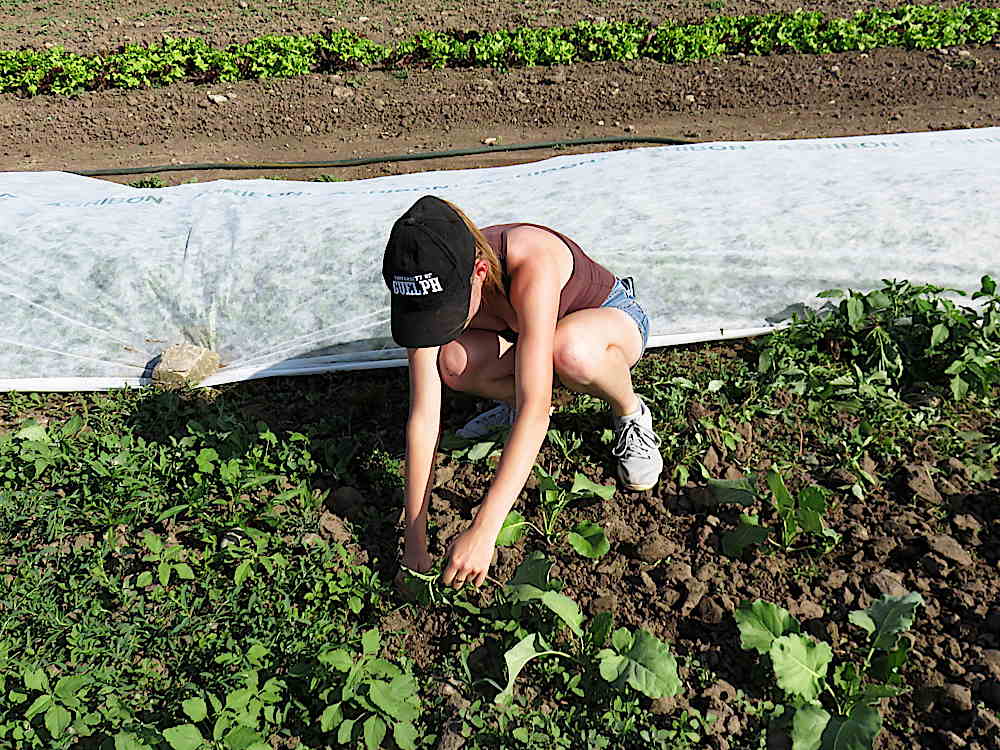
Kale under cover
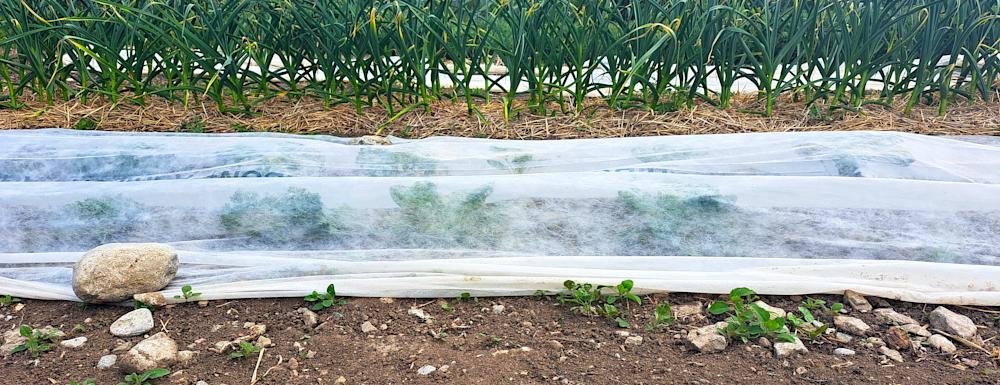
Kale and Brussels sprouts are tucked away under floating row cover (with straw-mulched garlic in the back). This is usually to protect them from flea beetles that can devour the seedlings. This year, unfortunately, it’s also a deterrent to the sudden invasion of groundhogs. Invasion isn’t the right word if we’re talking about numbers, as my best guess is that there are only two doing the damage. Their work, though, is so far somewhat alarming. They have a particular taste for lettuce; they’ve already gone under and through the cover to get a it. But in the last couple of weeks, it seems they’re out to at least sample just about everything. Since last year, and especially this spring, I’ve seen several groundhogs in the general area, which is new and a lot. Last season, there was a little veggie munching, but nothing out of hand. So, to a point, live and let live. This time around, seems like it could get more serious. As far as pests and disease, from year to year, if it’s not one thing, it’s another…
Simple system
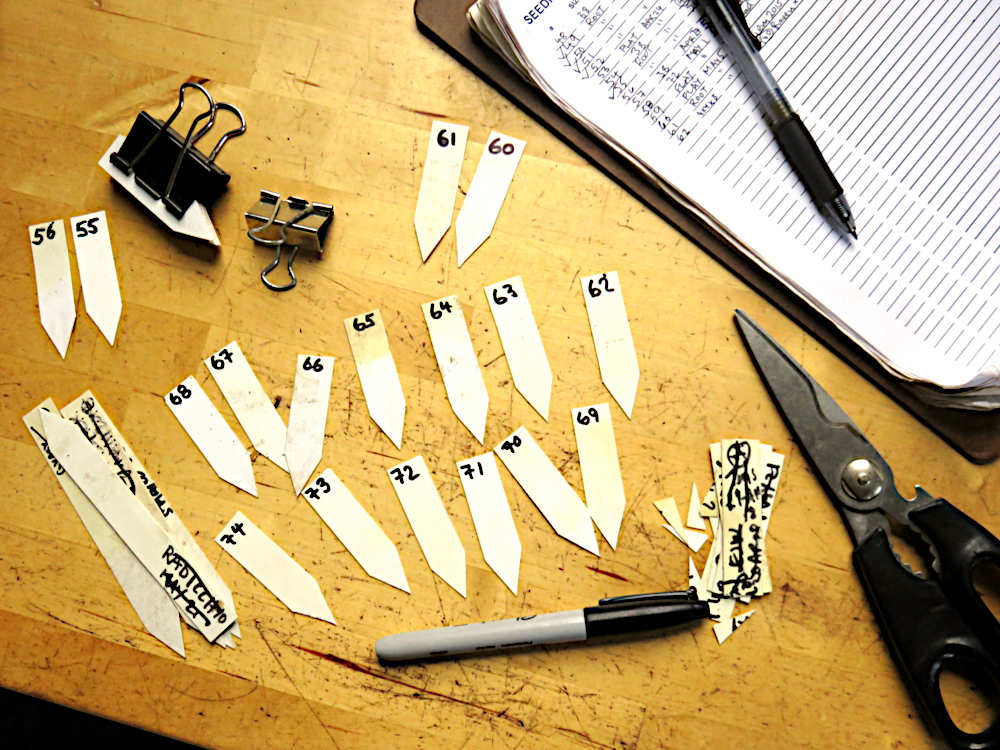
Nothing like improving a way to keep organized! This may look like some sort of craft-y looking set-up, when in fact it’s my new, state-of-the-art seedling tracking system. For years, I’d print the variety and seeding the on these tiny plastic stakes with a trusted Sharpie fine point, and stick them in the plug sheets. You can see the old approach on some of the stakes I’m reusing (old-fashioned recycling). Recently, I started instead to use a number code, writing the variety, date, and notes on a form I printed up. Why the change? Who knows, it just suddenly seemed like the thing to do.
It’s so much better! With only a number to read, the stakes can be half the height and don’t stick up and get in the way. It’s also a lot easier to see what’s going on overall by looking at the sheet. I always kept a list anyway, but now I’m doing half the printing and labeling work. I can also reuse the numbers season to season. The biggest advantage is psychological: I find that, when doing repetitive manual work, like seeding a few plug sheets, the less steps, the smoother the process, and less mental resistance. Rather than find a clean stake, print the info, pierce the plastic covering the plug sheet to stick it in, and rewrite the info on paper, I just insert the next number at almost soil level (no holes in the plastic wrap covering) and fill out the form! If this doesn’t resonate with you with a feeling of simple satisfaction, well, I guess you never had to keep track of a bunch of seedlings! :)
Seeds under plastic
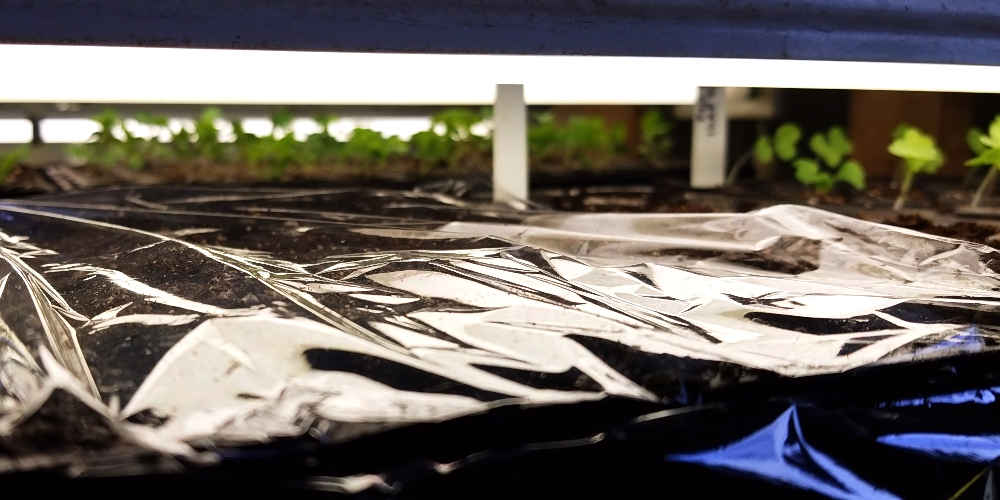
Plastic that looks like plastic adds its own surreal touch to any scene. I use sheets of food wrap to cover plugsheets trays until the seedlings push up above the surface. The plastic holds in heat and keeps the seedling mix moist, both of which the seeds definitely like. As soon as the seedlings emerge, off comes the plastic. Time to let the air flow. I reuse new sheets of wrap for a whole season. With use, they lose their clinginess and are that much easier to handle. The little things add up!
Fieldwork, tiny farm style
A simple snapshot of hand-weeding brassicas, and yet, a wealth of clues to how tiny farming is done in this market garden. Upfront, can see the weeding before-and-after: give them a few short days, and those weeds would easily catch up to the seedlings. The pulled weeds go around the plants or on the paths, where they do their bit in mulching, that helps keep new weeds from germinating. (Unfortunately, weeds often get bigger: more work, with the smaller tradeoff that they do a much better job as mulch.) Behind Casey, row cover, held down by big rocks that are carefully hoarded for just this use. Without the cover, flea beetles would have already gone to town, perforating the leaves with tiny holes. Further on, a critical water line, a 3/4″ hose off a 1″ pipe from the dug well pump. These are far from from a Big Ag diameters—they don’t deliver a firehose amount of water, but they do get the job done. Besides, there isn’t that much water in this well. The hose is lying on a trodden path, measured out at the beginning of the season to divide the field up into five-foot wide (1.5m), wide enough to take two rows of the bigger plants, like these broccoli and a cauliflower. The tradeoff is, comfortable hand-weeding is often done from both sides, to avoid lots of reaching across, while being a little less…efficient. And then there are open beds, with the clean look of fresh rototilling, ready for more seeding or transplanting. Casy’s fashion choices for fieldwear wouldn’t be mine: too much skin exposed to sun, insects, and spiky thistles—I gave up even shorts ages ago, for long sleeves and jeans—but to each their own. It’s all in the details!
Cutting greens
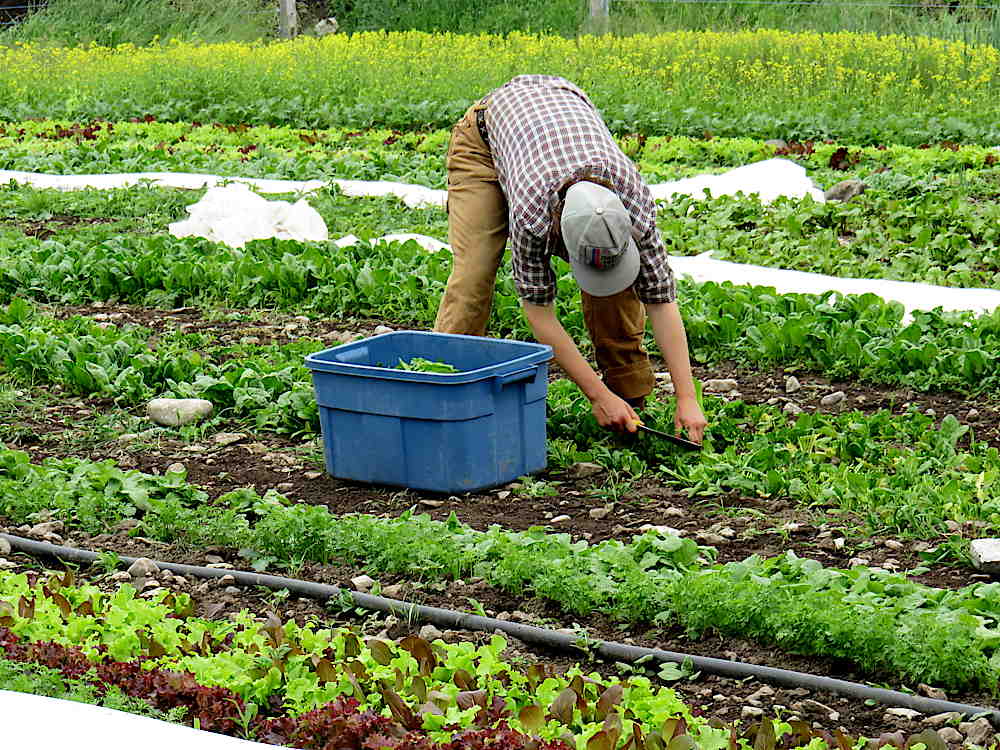
Harvesting salad greens: bin, harvest knife, hands. This has never been one of my favorite things to do—doubled over one 50′ bed after another. A while back, we made a seat on wheels that straddled the bed so you could sit, pushing yourself back with your feet. It worked pretty well, but it became one extra thing to lug around and faded out of service. The greens—lettuces, arugula, mustard, mizuna, other brassicas—at this time are maybe the best of the season, growing before full summer heat. In the background, the goldenrod, native residents of the field, are thriving, towering over all the crops. I don’t think of them as weeds, because they don’t
Greens, protected!
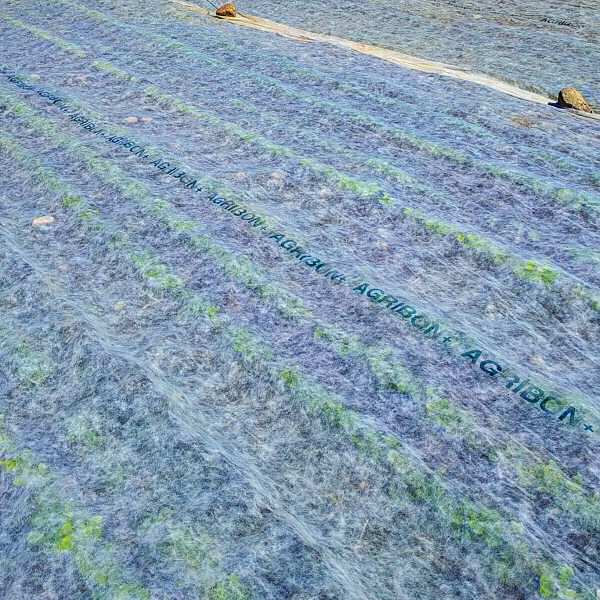
Floating row cover, weighed down and made semi-transparent by water, is all that stands between fine young brassica greens and the scourge of the flea beetle. The cover is placed right after seeding, weighed down by rocks every 12.5′ feet, briefly rolled back for weeding, and progressively loosened as the greens grow—we use 14′ wide sheets on 10′ wide beds. This medium-weight cover has worked as a good all-round solution, offering a few degrees of frost protection, and more durable than a lighter, insect-only weight, which would allow better light transmission (this medium weight one is 85%) and better air circulation, but also be more likely to tear.