
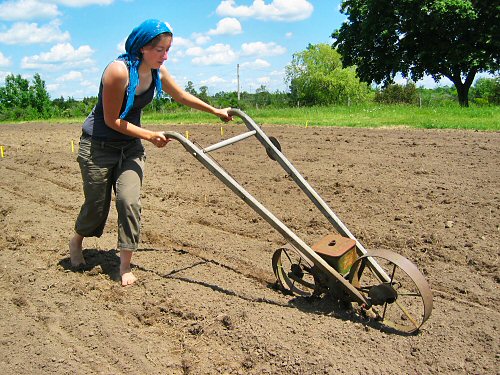
This year the antique Planet Jr. seeder finally took over from the Earthway, to handle most of the direct seeding. We’ve been using it for everything but tiny carrot and lettuce seed, where the lighter Earthway is easier to maneuver for closely spaced rows. Here, Lynn rolls out a third planting of beets, no problem. The PJ is heavy and initially hard to handle, but also more precise, uses way less seed than the Earthway, and lays down a well-packed row. And the choice of 60 or so seed holes, at first a pain, turns out to be a great way to appreciate variations in seed between varieties and fine tune seeding rates—we used three different openings to best fit three types of beet (Golden Detroit, Chioggia, Kestrel). It’s great. With this well-aged Planet Jr, old turns out to be our new and improved!
People
Hand-tended
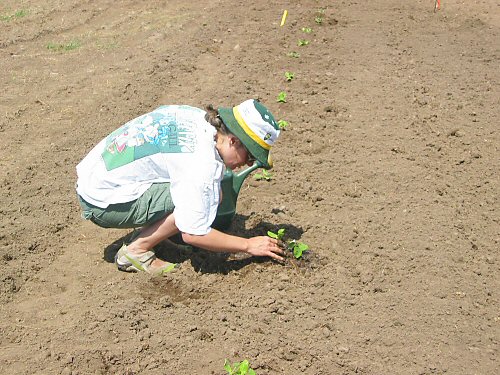
“Hand-tended” is one of the phrases that usually gets popped into the occasional bit of promotional writing about this market garden. Sounds good! If asked (hasn’t happened so far), I’d explain that we don’t use many machines, most of the garden work is done with hand tools, or just hands, as in, hand-weeding, or plucking off bugs…by hand. And lots of time is spent through the season, crouching and crawling around, checking out what’s going on with particular plantings of this or that. Which all seems pretty cool. :)
Today, Tara and I hand-transplanted two beds of early-maturing Neon pumpkins (above), along with a few more Snack Jack (tiny pumpkins bred for producing lots of tasty seed). The Neons are 70-80-day hybrid, kinda freakishly quick to mature (pumpkins are mostly 100+ days).
At this point in the season here, it’s getting kinda late for winter squash and pumpkins, but there are a few beds still to fill in, so a bunch of 70-85-day varieties, coming up in pots in the greenhouse, will be heading out to the field over the next week. With anything but the worst in cold and cloudy weather over the next three months, they should size up just fine!
New chickenhouse progress
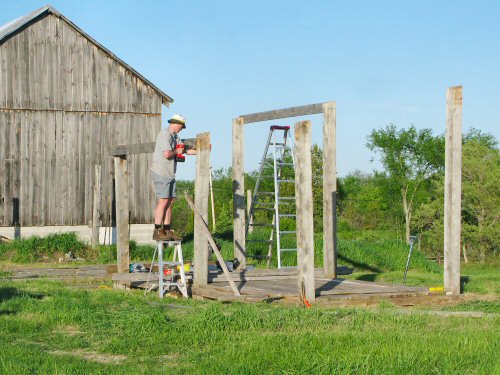
At the end of Day 2 (Day 1 was a few hours of mainly sorting pieces and leveling the base), the soon-to-be-reconstituted farm stand is taking shape, with the fairly massive 6×6 rough cut cedar posts in place. The new chickenhouse can’t be far behind…
Another hand-watering method
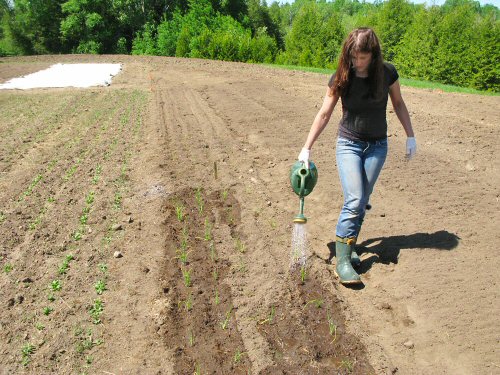
Another fine temporary measure this spring (and another of the many things the trusty Kubota compact tractor can do) is our new spot-watering method. Michelle waters in a last, experimentally late tray of onions with a slightly modified, inexpensive ($5) plastic watering can that holds about 2 gallons (8 l), and has big holes for fast, high-volume output. These cans we usually plunge into a rain barrel (or snow barrel) for filling, and to speed that up, I cut a squarish opening in the top (I always forget to cut the opening to the back, so water doesn’t escape from the top when pouring when full). The trick here is that the water comes from the Kubota’s bucket, maybe 30-40 gallons (110-150 l) of it, depending on how carefully the drive. You fill up, then head over to exactly where you want, like a movable rain barrel! The whole thing is quick and easy, good for watering in new seedings and transplants, until I hook up the field-long irrigation pipe. Quite the luxury, in a way, but the tractor’s already there, and we gotta keep things moving along! :)
Starting the new chickenhouse
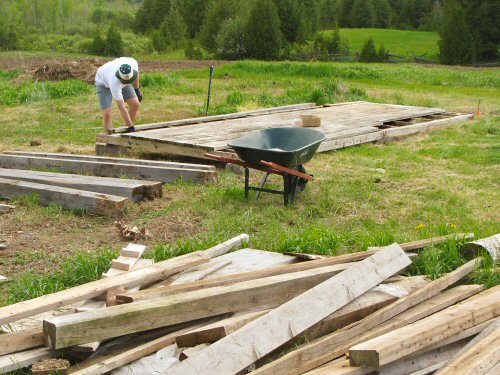
Forty two-week-old meat chickens arrive in two days: now sounds like a great time to begin building a new chickenhouse. It’s not like we’re starting from scratch. The plan is to reassemble and repurpose the once-and-formerly-future farm stand. With its fairly massive floor, 6×6 rough cut cedar posts, and galvanized roof, it should be a fairly solid and complete framework, just add some studs and plywood. Except, the stand was completely taken apart for the old-farm-new-farm move, with the exception of the base, which was only cut in two. So it’s kind of a puzzle. Michael gets to work! (Elsewhere today, another shopping trip to our farmers’ market…our attendance record is so far perfect…)
Skinning the hoophouse

This is the spring of Finally… Today, we finally got the plastic on the hoophouse, can’t believe it’s been over a month since the frame went up! Anyhow, it’s done! A kinda huge turnout of people: Libby, Jordan, Andie, Tom, and Lynn (planting grain elsewhere during the hoophouse skinning). A bit of a breeze, but it didn’t get in the way. First, the ends went on, and then, the big job, which with a lot of hands is pretty simple. Started by pulling the plastic over* and loosely fastening it at one end (the many hands really help)…
Next, we slid it along. I’m on the ladder, putting UV-resistant greenhouse tape over the edges of the ribs where they join the ridge, so they don’t rub on the plastic (clearly, that’s a one-person job…could’ve been done ahead)…
Get to the other end, and fasten it! There’s still a fair bit of wood work to secure it all, and electricity and then the squirrel cage fan to install, to inflate the double layer of plastic, but the main job is basically DONE. One more thing on the new-tiny-farm start-up-from-nearly-scratch list, practically checked off! (I should move the jumbo rain gauge to a completely unsheltered spot…)
*It’s a lot easier to lay the plastic out lengthwise beside the frame, then pull it over from both ends in one shot. We did it this way because there was only one tall stepladder, and to avoid catching the breeze on the full length of the plastic as it went up—a completely calm day is best, but with a lot of people, you can handle a little wind. (Photos 1 and 2 by Andie)
50 feet!
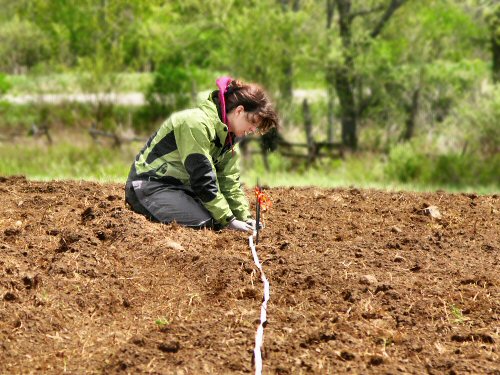
Nice sun, but kinda cool and definitely windy. Michelle came by for a day of mostly organizing and arranging: managing seedlings, and measuring and staking out garden sections (now, according to the new garden map). We’re once again using 50′ (15.2m) squares as the basic garden unit. The 100′ (30.5m) reel-up vinyl measuring tape is the handiest tool for this, as we walk up and down and around, a person on each end of the tape, calling out measurements and planting fluorescent-flagged stakes… There’s a satisfying sense of order when a freshly tilled section is staked out. All those neat squares tell you, you are master of your garden, and things are well under control! :)