It’s almost “yet another rainbow,” but not quite. We’ve seen a good collection so far this season, including quite spectacular horizon-to-horizon double rainbows two nights in a row. Which means there’s been lots of rain, and all the cloudiness that goes with it. It’s nowhere near as miserably wet as last season, though—rainfall this year has actually been great, averaging around the golden inch-a-week (2.5cm-a-week)—but 4-5 mainly cloudy days out of 7 is slowing things down.
How slow? The first summer squash that should’ve popped in size in a few sunny days, has been slowly expanding for well over a week. Root crops like beets, carrots, potatoes, aren’t affected as much, and seem to love the rain. But toms, peppers, eggplant and the whole cucurbit family (squash, melons, cucumber) are in slow motion, maybe a week or two from where they’d be with lots of sun.
Still, all in all, everything is growing along well enough, and we’re bound to hit a sunny stretch. Right?
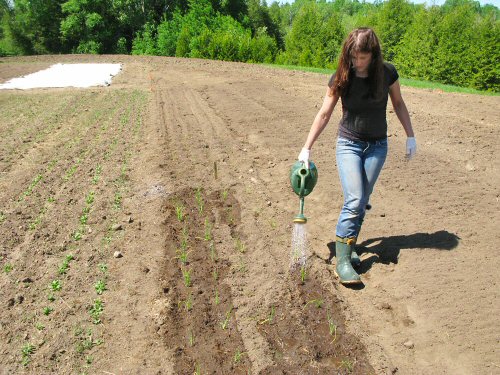
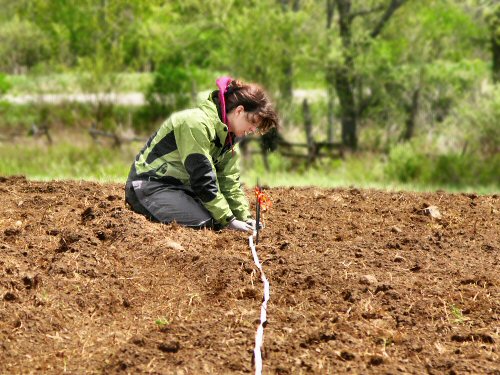
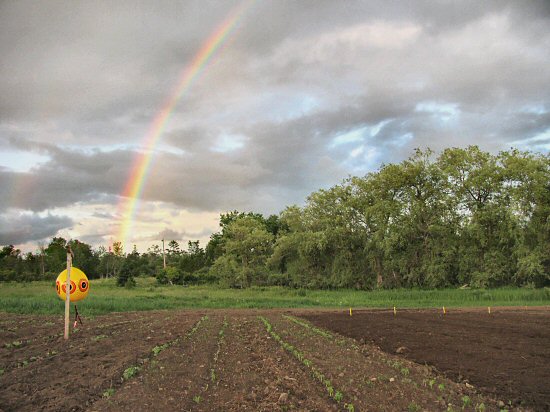
In the photo, a third planting of green and yellow snap beans, with scare ball in place to scare off birds (it seems to work). To the right, a freshly tilled section, waiting for a third planting of spinach… This weather’s great for summer spinach!