Compost spreading: another way…

Spreading compost with a rake

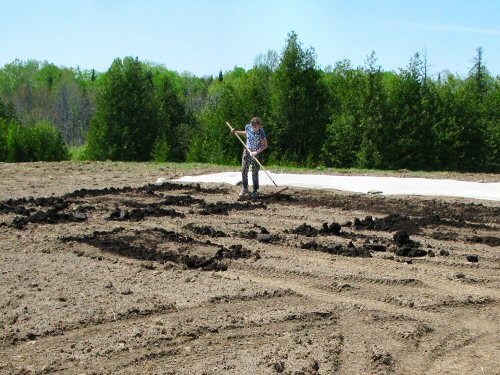
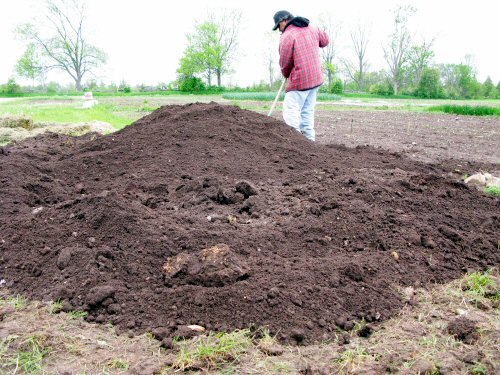
When there’s a whole small section to cover, spreading compost with the Kubota compact tractor bucket is a lot faster and more efficient than the painstaking bed-by-bed method. This has been my usual approach for spot spreading, usually for 50’x50′ squares. Covered in reverse: the roughly distributed compost is quickly raked out (looks like a lot of work, but only takes 5-10 minutes!), before being rototilled in.

The real trick is backing up while dumping, rotating the bucket up and down. As long as the compost is flowing and not too clumped, this works great, gets a lot of the job done.

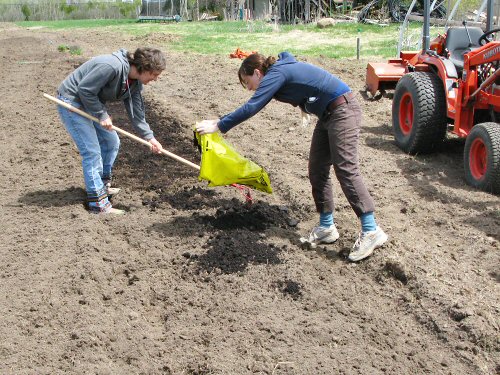
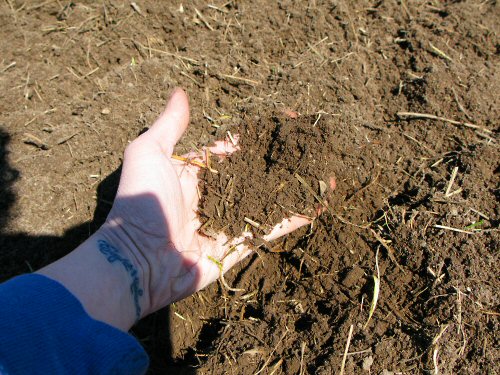
After a little experimentation, we came up with a simple debagging method, Lynn demonstrates: slit the bag in the bucket, then quickly flip it, pull up, and give it a couple of shakes. This compost is quite heavy (35% moisture, the label says?! expensive certified organic water…), so it quite easily tumbles out… And there we go, tiny methods for the tiny farm!

Ways to spread

Spreading compost by hand

This has gotta be the most painstaking way to plant out two acres of veggies! To recap: different sections of the two fields are at different stages of tillage (Peter down the road has had to come back a couple of times to disc, and there’s STILL a small section to go), and of course there was no time to spread manure in the fall. It’s even a little more complicated, with a fair amount of chopped up sod getting in the way. Sooo, we’re working a few beds at a time, with different treatments depending on the crop.

Here, Tara and Lynn prepare a 50′ x 3′ (15.2m x 0.9m) bed for baby lettuce for mesclun. Because it’s seeded densely and grows quickly, we decided to apply a fair amount of that expensive certified organic compost, and then reuse this bed for at least one or two more mesclun plantings later in the season.

Spreading from Bags Method 1: We brought over a stack of 40lb (18kg) bags in the bucket of the Kubota compact tractor, emptied 8 bags one by one, and lightly raked them in. Thinking about it afterwards, it seemed easier to empty the bags into the bucket, use a shovel to spread, then rake it in. An extra step, but overall quicker to incorporate.

Definitely hand-work, especially compared to loading up an 8-ton manure spreader and driving it around with a big tractor, like we mostly used to do! Good thing we’re only giving this special treatment to a few beds for salad greens. And it is all getting done…

Tiny machine action

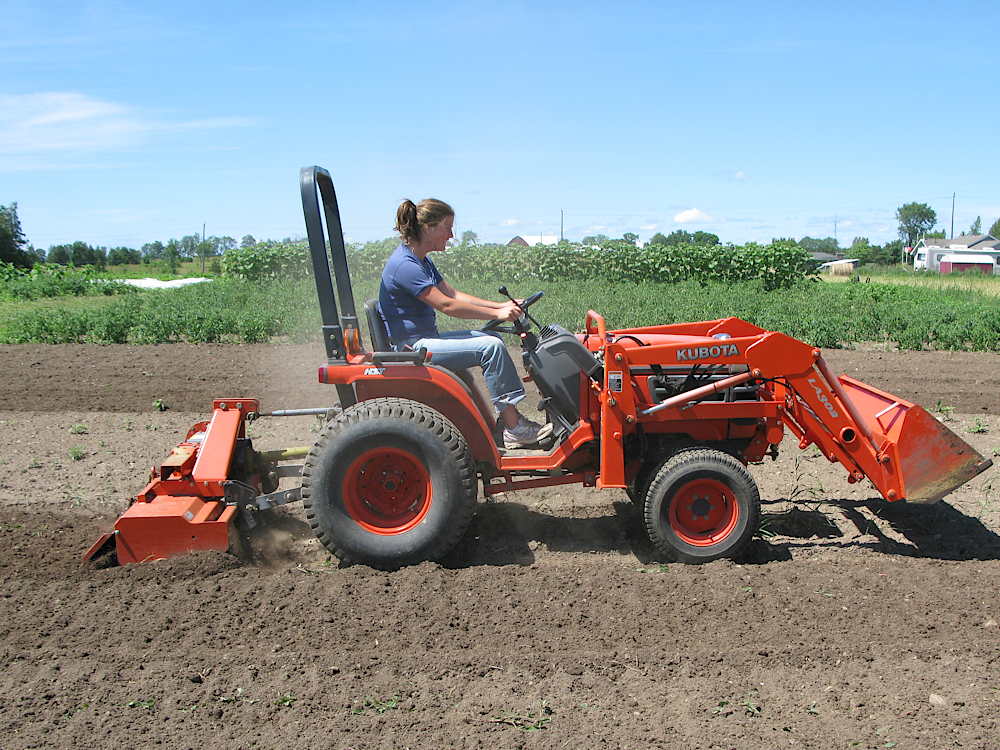
Beautiful weather, around 60°F (15°C) in the full-on sun, with a crisp undercurrent of a breeze… What could be nicer for the first full day of fieldwork?! Lynn, Mel and Jordan came by at 8:30 am, and Tara joined in a little later on. We’re still working on preparing the beds, so the main action was raking and ROTOTILLING…busting up that sod. And everyone’s gearing up for the season, learning where things are and how to do…stuff. Like…rototilling! Mel tries her hand at it for the first time (above)—the Kubota compact tractor is as reliable, steady, and undaunting as ever…

Tara also rototills for the first time. Here, she executes what looks like a nimble little turn

Mel inspects the results of a pass with the rototiller, checking out the effect of tilling at different speeds. And the tiny farming goes on… (Photos 2 and 3 by Mel)

Rototilling results…

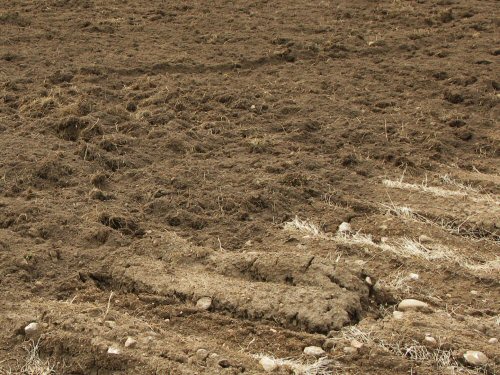
My first post title was “Pounding away,” but that sounded too brutal when it comes to garden soil. Still, that’s what we’re doing, what has to be done to stay on a reasonable planting schedule. Rototilling chops up the turned-under strips of sod into smaller, more easily digested pieces. The pic shows the result of one pass of the Kubota compact tractor with 48″ tiller. It’s still pretty rough, you can see clumps all over the place.

A quarter acre is getting this treatment, enough for the earliest direct-seeded crops. Hopefully, we’ll have the rest of the field disked well before it’s needed. Meanwhile, one or two more passes with the rototiller, hand raking, spreading a healthy amount of compost, and we should be ready to go. A rough and ready hay field-to-veggie garden conversion that should work out fine. As always, we shall see!

Working the tiny tractor

Rototilling with the Kubota compact tractor

Working with the tiny tractor always looks like fun: after three seasons, it’s still fun for me, and just about everyone else seems to enjoy it, too! This Kubota compact tractor is dead simple to operate, rugged and reliable, easy on diesel, and nonthreateningly…tiny. And it’s as close as we’ve gotten to the other world of big, mechanized agriculture. Tilling with the 48″ rototiller is the Kubota’s main in-the-garden-beds field duty (and that’s something I try to keep to a minimum). I’ve come to rely on it for this one critical task, and to a lesser degree, for moving earth, manure, compost and other things with the front-end loader. Particularly, when time gets short and weeds on open sections start to go crazy, it’s great to have around. Here, Libby tries rotilling for the very first time, working up two sections for planting out fall brassicas (broccoli, cauliflower, cabbage,…). And, yep, looks like she’s having fun!

Ah, the Home Garden…

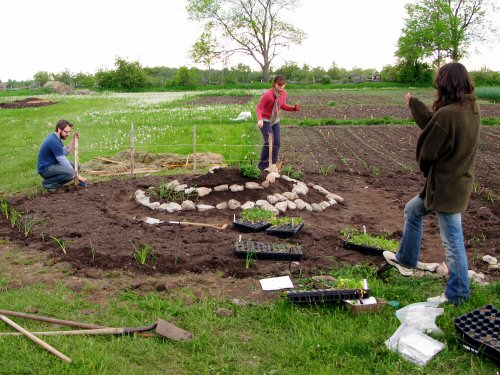
After quite a bit of talking about it, and last year’s false start, a Home Garden is suddenly in place in one corner of the field. The idea is to have a small demonstration veggie plot, to encourage people to grow at least some of their own stuff in whatever space they have. Why? Well, it seemed like fun. Located by the farm stand, it would be an extra little attraction to farm visitors… Just a thing worth doing… Anyhow, last year, I staked out a section, but didn’t get too far in planting anything in it, a couple of tomatoes and a few potatoes… This time around, I’d been chatting with Shannon, who has a lot of permaculture-based ideas, from reading and interning, so I asked her to plan it out. The final design was done really quickly earlier today (it was a busy month…), it’s more a freeform, jumbled garden with a permaculture flavor: all annual veggies, no rows, lots of interplanting, a herb spiral on a mound (a mix of annuals and perennials), an anti-pest barrier of alliums (onions and garlic chives) around the perimeter, and three little keyholes, which are dugouts that you can kneel in to garden within reach around you, as an alternative to working from paths. At about 10’x20′ (3x6m), it’s fairly small. One cool thing: the home garden layout is entirely unlike the rest of the market garden, which is all flat, linear and grid-like, lots of rectangles and squares and straight paths. Now, we have a deliberate elevation and CIRCLES! To make the mound, I dumped a few buckets of compost using the Kubota compact tractor, and raked it into shape. We then added stones for the spiral, and Erin and Mike dropped in and helped plant it out, using odds and ends of transplants and also seed, with Shannon directing. The rough plan is to have Lynn and Raechelle develop and tend it over the season (Shannon leaves tomorrow after a solid month in the field).

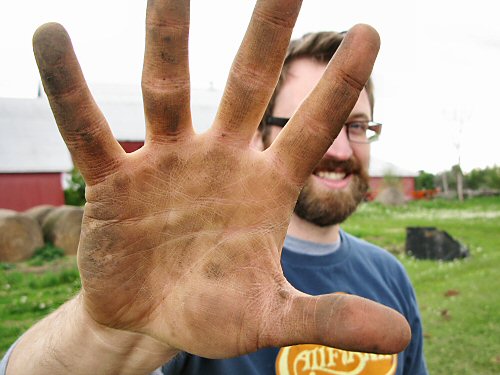
At just over two acres of veggies, the tiny farm is really small by most any modern agricultural standard, and starting up a MUCH TINIER space is its own private…thrill for me. It’s so…opposite! ;) It’ll be interesting to see how Home Garden 1 turns out as the season rolls along! Any way you can, getting your hands dirty is what it’s all about… (Guest photos: top by Shannon, below by Erin.)

Field day!

Winter-killed brassicas

Left to the last possible harvest in the fall, brassicas like kale, Brussels sprouts, cabbage, broccoli and cauliflower (above), were eventually winter-killed and now have to be cleaned up—one of the first field-readying jobs of spring! Today, I started. (EVERY day is a field day from here on in, through November at least, or the first heavy snow that sticks.) A day of tiny farming fieldwork is really just a whole lotta gardening… Now that the ground has dried out enough to be tillable (that could’ve been yesterday, but…errands and CHICKENS), and warmed up enough to direct seed the crops that germinate in cooler soil, it’s a whole new world of things to do…and think about doing. There are two basic ways to ponder the progress of the season’s garden: by timing and by area, each useful in its own way. Timing is mainly about the plants: when to seed, when to water, when to harvest. Area is about where to locate particular plantings, which in my case doesn’t mean absolutely running out of space, since there’s lots more field to expand the garden into if I wanted to (which I don’t), but more like where to position stuff efficiently, so you’re maintaining crop rotation, but not having to, say, drag hoses all the way down the garden to a couple of newly seeded beds that need daily watering in (although there’s a field production plan made up, there are lots of adjustments on the way—where to put stuff will come up again and again!). So, the start of the season is mainly about area, because you have to prep beds and get veggies in in a rough order—cool soil seed, then cool weather transplant, then warm soil seed and transplants—and the timing is a constant: it’s all right away! One way I keep overall track of this garden is by counting sections: it’s about 2.5 acres, divided into 40 50’x50′ squares (each fits 10-16 beds, depending on width). At some point in the next six weeks or so, almost all SHOULD be planted out, nearly 40/40. Today, I started seeding in one…

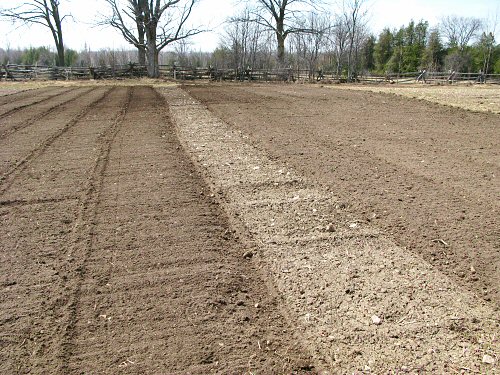
Tilled and untilled: Partially composted cow manure was spread and incorporated in the fall. Now, a light rototilling to prepare for seeding is all that’s needed. Today, I used the tiller on the Kubota compact tractor.

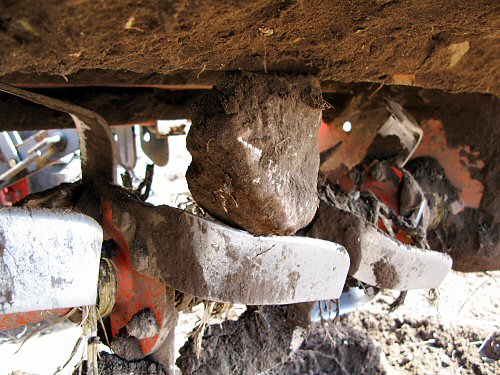
Rock beats tiller: There are lots of stones in this field, they work their way up continually, and even a fist-sized rock, caught in the right way, can stall out the 48″ rototiller on the Kubota (it’s a tiny tractor!). No problem: remove and restart.

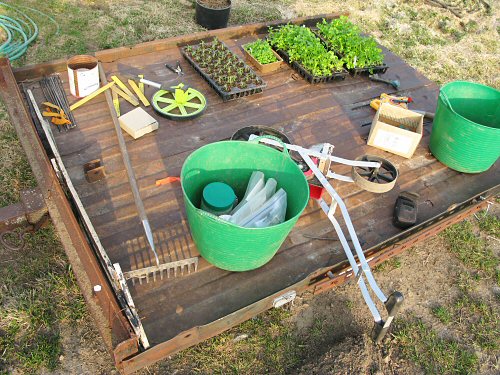
Getting set to seed: I work mostly one or two sections at a time, prepping an area with the tiller, marking the beds, then seeding (or transplanting). This way, I can get the crops that need to be started in as quickly as possible. Here’s the cart towed by the riding mower, loaded with assorted seeding gear (and some transplants being ferried to the greenhouse).

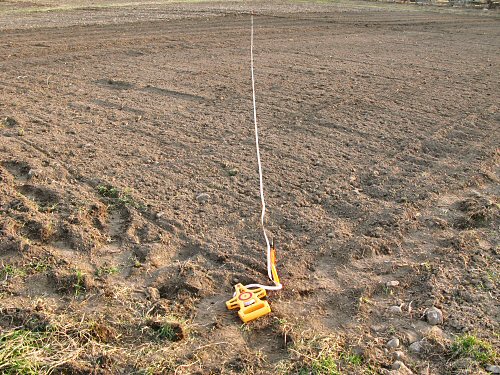
Making beds: Oh, there’s A LOT of tiny farm history behind my bed marking methods. :) I’m still working on the most efficient way to set up beds. Right now, it’s fairly streamlined, involving a 100′ tape measure, stakes, and pacing off distances. This year, I’m planting in 3′, 4′, and 5′ beds (that’s path included), depending on the crop.

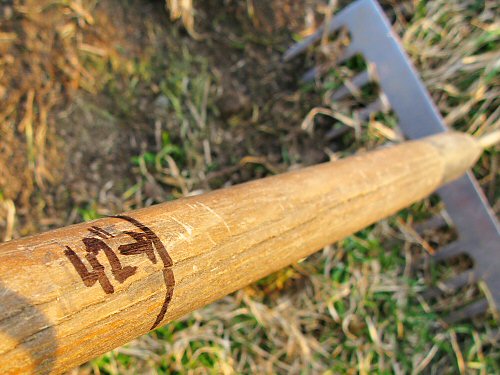
Customizing the Rake: Every season, I re-ink faded measurement markings on a couple of hand tools I use the most. Here’s a convenient mark for 42″ from the top of the handle (that’s the planting area width for a 5′ bed. There are other marks further up the handle, and the whole rake is exactly 5′. It’s convenient for quick checks, especially on the favorite rake that I use for touching up beds right before seeding. And so, off we go…!