
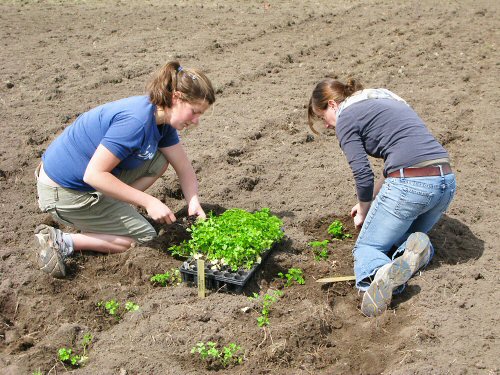
More slow but steady planting out. Flat-leaf and curly parsley, started so long ago, finally hit the field by the hands of Libby and Lynn. Later in the afternoon, we started one section of potatoes. The timing this spring is…unusual. We’re still tilling and retilling sections to further break up sod, planting the same crop in two or three different spots, and staggering planting dates by waiting as long as possible, to get as much variation in conditions as we can. It’s hedging bets in a new market garden…
Lynn
Compost spreading: another way…
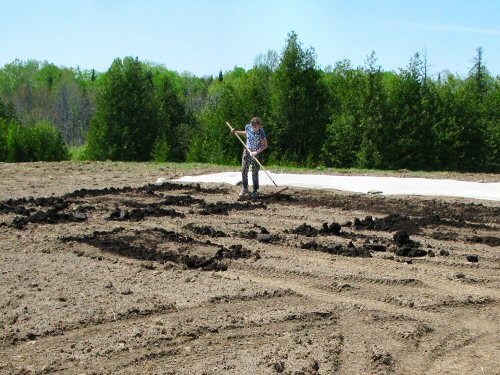
When there’s a whole small section to cover, spreading compost with the Kubota compact tractor bucket is a lot faster and more efficient than the painstaking bed-by-bed method. This has been my usual approach for spot spreading, usually for 50’x50′ squares. Covered in reverse: the roughly distributed compost is quickly raked out (looks like a lot of work, but only takes 5-10 minutes!), before being rototilled in.
The real trick is backing up while dumping, rotating the bucket up and down. As long as the compost is flowing and not too clumped, this works great, gets a lot of the job done.
After a little experimentation, we came up with a simple debagging method, Lynn demonstrates: slit the bag in the bucket, then quickly flip it, pull up, and give it a couple of shakes. This compost is quite heavy (35% moisture, the label says?! expensive certified organic water…), so it quite easily tumbles out… And there we go, tiny methods for the tiny farm!
Transplanting team…
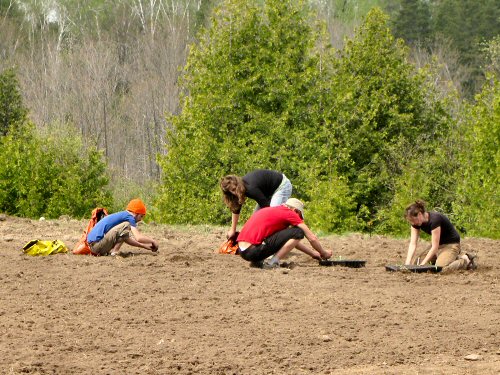
Another big Friday showing of people in the field: Chris, Libby, Jordan and Lynn transplant broccoli and cauliflower, while Andie is on a solo rototilling mission in the other field. Later, everyone got together to plant a few hundred onion seedlings and sets. And some other stuff got done.
Although we’re in the thick of it as far as timing and weather and urgency to get things out, our spring schedule is slower than it could be, and the field days are so far fairly laid back. Slowing things down is the start-up stuff: a ton of tillage to do (working in the grassy remnants of last year’s hay field), water for irrigation to put in place, electricity to run, chickenhouse to build, and a long list of other basic things that we have to put in place along with starting the season’s crops. Getting it all rolling together on this new farm, now that’s fairly intense!
A field day
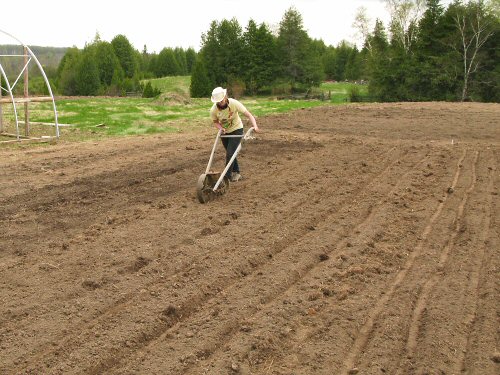
At this point in the season, EVERY day is a field day, unless it’s totally rained out. Today was no exception. Lynn brought a couple of friends, Julia and Tom, to check things out and lend a hand. They’re off to work in one of our fine parks this summer, but wanted to see what was going on on this tiny farm. No problem!
I seem to’ve gotten pretty good at tossing people into the tiny farming action, with little work-up or ceremony. A quick tour around (and here, there’s not much to see just yet), and it’s on to the hands-on. Neither Tom nor Julia had experience with market gardening, but in no time, they were seeding with the seeder of the day, the trusty and heavy Planet Jr. (above). We’re doing a second planting of spinach, and a third of peas…
The Planet Jr. can take a little getting used to, so there I am, explaining how it works as we go! Knowing exactly what a tool is doing and why really makes learning to use it so much more…satisfying. I think.
Just about EVERYTHING in tiny farming is quite simple and straightforward (there’s just a LOT of simple things to know!), still, some people have a natural talent for this or that. Like, Tom can clearly walk a very straight line as he measures off more beds for onions and peas. The current bed marking method: measure and stake the path centers at both ends of the bed, and walk ’em in! It’s pretty simple.
For getting your hands dirty, there’s nothing quite like crawling along in the dirt, pushing Stuttgarter-type yellow cooking onion sets into the ground, six inches (15cm) apart, by the hundreds. Once you get into the rhythm, you can sow and chat, and things get done in no time! All in all, relaxing and productive day in the field. Fun and useful, I hope, for all! (Photos 2, 3 by Lynn.)
Ways to spread
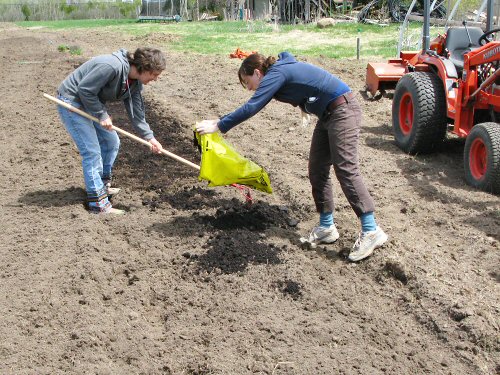
This has gotta be the most painstaking way to plant out two acres of veggies! To recap: different sections of the two fields are at different stages of tillage (Peter down the road has had to come back a couple of times to disc, and there’s STILL a small section to go), and of course there was no time to spread manure in the fall. It’s even a little more complicated, with a fair amount of chopped up sod getting in the way. Sooo, we’re working a few beds at a time, with different treatments depending on the crop.
Here, Tara and Lynn prepare a 50′ x 3′ (15.2m x 0.9m) bed for baby lettuce for mesclun. Because it’s seeded densely and grows quickly, we decided to apply a fair amount of that expensive certified organic compost, and then reuse this bed for at least one or two more mesclun plantings later in the season.
Spreading from Bags Method 1: We brought over a stack of 40lb (18kg) bags in the bucket of the Kubota compact tractor, emptied 8 bags one by one, and lightly raked them in. Thinking about it afterwards, it seemed easier to empty the bags into the bucket, use a shovel to spread, then rake it in. An extra step, but overall quicker to incorporate.
Definitely hand-work, especially compared to loading up an 8-ton manure spreader and driving it around with a big tractor, like we mostly used to do! Good thing we’re only giving this special treatment to a few beds for salad greens. And it is all getting done…
Mixing and repotting
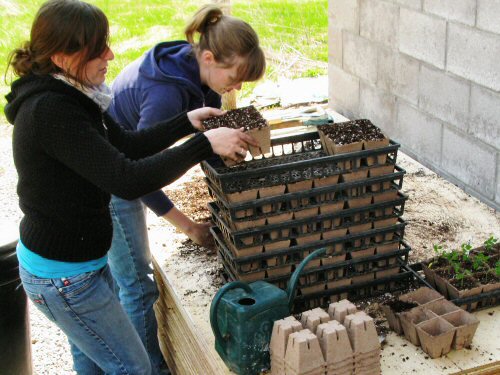
Today’s featured task: potting up tomatoes from plug sheets to 3″ peat pots. As with many things here this season, this is a little later than usual, by a week or so, as the new farm set-up gets squared away. (It should all even out sometime in June.)
This batch of seedling mix is about 50% compost, 25% peat and 25% perlite. Lynn and Andie did the blending on top of a stack of 4×8 plywood, using a shovel, and hand-crumbling clumps of peat and compost. With a little experience, it’s easy to judge a mix by squeezing it (or you can just follow a recipe exactly), but a fairly foolproof test, when using compost or soil, is to water-in a loosely packed pot: if the mix collapses into a muddy muck, you need (lots) more perlite/vermiculite/peat. Water should flow through leaving things still kinda fluffy.
Between tomatoes, peppers and eggplant, we’ll end up with maybe 900 potted-up transplants, aimed for the field in about three weeks. I’d decided to stop using peat pots this year because you have to keep buying them (they’re planted with the seedling). BUT: it’s so busy, there was no time for soil blocks, hadn’t had a chance to find a supplier for reasonably priced, small bulk quantity (reusable!) plastic pots, and we found an inexpensive peat pot supplier in town (they’re usually ordered and delivered), so it’s peat once again this year…
Hoophouse end walls
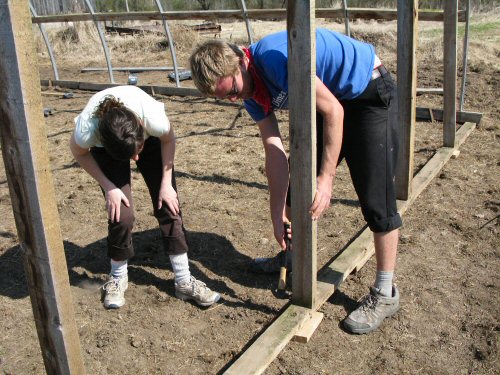
With the clamoring demand for greenhouse space around here, getting the hoophouse finished now that the frame is up is a PRIORITY. Yet here we are, a week later, framing the end walls and installing the wood along the sides for the roll-up section of the sidewalls. A stretch of wet, cold weather was the main cause for delay. Plus a really long list of other critical things to do at the same time.
For maximum satisfaction on the tiny farm, you want things to effortlessly flow along, from one small task or specific problem, to the next (IMHO, of course!). Right now, there are lots of phone calls to be made, things to follow up on, info to find, bits to write and forms to fill, stuff to source and buy, all sorts of more abstract, open-ended, DISTRACTING activity. Eventually, it will settle down into a more-or-less all-garden flow…
In the pic, Jordan and Lynn work on reassembling the end walls. The ground isn’t absolutely level, there’s a gap to fill underneath the 2×4’s along the bottom (the sill plate). This isn’t a problem as the weight of the hoophouse sits on the 4×4’s running along the sides—they’re firmly anchored, so we’re set.
In this case, we can’t cut the studs longer to extend the wall, because we’re going to reattach the existing, pre-cut plastic. Everything has to come together the way it was. I should’ve numbered and marked each rib and piece of wood as it came apart. I’d usually have thought of that, but in this case, I only marked the main plastic, so that we could reverse it. Now, fitting it back together is a little puzzle… After this, there’s not much more to do, just wait for a windless day to skin with plastic. Onwards!