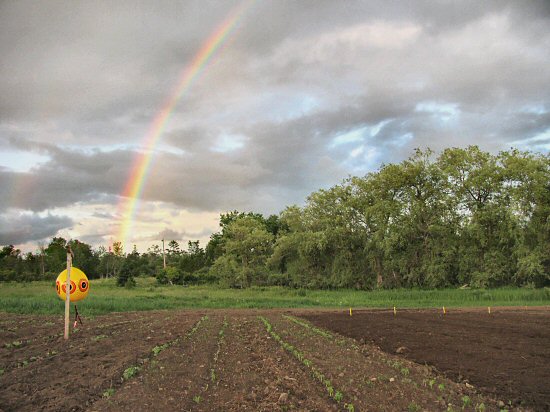
It’s been cloudy a lot this season, but the rain has kept pretty much to a reasonable number of rainy days and single downpours—it hasn’t been too WET. So, not that much fieldwork called for rain. Today was an exception, with a steady on-and-off drizzle from early morning that kept things watered down.
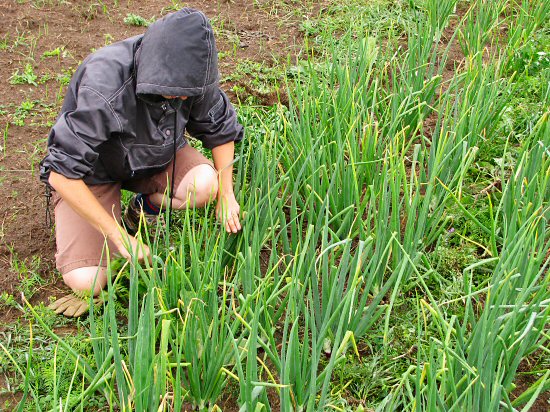
Lynn came out around 8:30 am to weed. Since it didn’t look like the sun would be showing up to dry things out, she finished a bed of onions (these are the last-planted onion seedlings, a fair bit behind the rest) and we called it a day for weeding.
In general, we try not to handle plants when they’re wet so as not to spread any sort of disease. This is a common caution for, for example, beans, and I’m not sure how it applies across the board to all garden veggies. Still, since wet work in the field is seldom fun anyway, it seems like a good rule in general: No weeding when wet!